Wednesday, October 26, 2011

What I Love Wednesday #2

Hi everyone,

How's your week going? I'm having fun with paints, drawings, and collaging, and I've been doing some knitting as well (trying to knit my first sweater!). So there should hopefully be some posts coming up about all that...I'm excited to share it with you!

Anyway, here is the second edition of "What I Love Wednesday"!


The first thing I'm loving right now is the scarf -- whether it's a knit scarf, a silk scarf, or a circle scarf, I love them all! And they're perfect Fall accessories, too!


From here.


From here.

I'm also loving the style of the new ABC show Pan-Am, mainly for the classy sixties' style clothing and hairstyles -- they're just so pretty!


Both images from here.


Right now I'm also in love with layering. I love the look of all the different textures, and it's a great way to stay warm and mix up your outfits in the Fall .


From here.


From here.

And finally, I am completely in love with boots for Fall and Winter -- especially lace-up boots. ^^


From here.


From here.


From here.


What are you loving this Wednesday?


Friday, October 21, 2011

Sneak Peek of My Halloween Costume


Hi everyone!

I don't know about you, but I'm very psyched for Halloween to get here...I totally thought it was this Monday, and was very disappointed when my sister informed me that I would have to wait yet another week. But I still have last minute tweaks to make on my costume, so that'll have to tide me over.

So, can you guess what I'm being?

Ever since I saw the latest Pirates of the Caribbean movie (in July), I knew I wanted to be a pirate for Halloween. So I've been working on this idea for a loooooong time now, which I guess kind of explains my impatience.

The most important part of a pirate's costume may very well be the hat. It's kind of like a trademark. So I knew I would need a pirate hat for my costume. The only problem is that I'm not really a hat kind of girl. But I DO like headbands and fascinators. So I drew from that idea, and made a miniature version of a pirate's hat. & I love how it turned out!


All I did was take some card stock, cut and fold it to the shape I wanted, then I used my hot glue gun to attach white felt to cover the cardstock. I lined it with some gray yarn to cover the edges, and ended up with a fun contrast. Then I glued on some featers -- Ostrich feathers from an old fascinator that had broken, and Dove feathers from our family's Dove (don't worry -- these came off when she was molting; I didn't steal them!). I also added the little skull and crossbones. Then, I plan on hot gluing a alligator clip to the back to hold it in place on my head.


Very cute, don't you think?(:

Are any of you dressing up for Halloween? What are you going to be?


Wednesday, October 19, 2011

{What I love Wednesday} #1


Hi everyone,

I may or may not have mentioned it, but some big changes are going to be happening on my blog. I'm kicking myself back into shape (physically, mentally, and creatively), and it's time for my blog to get in shape too! So I'm going to be doing a couple of different posts each week -- my crafts, inspiration posts like this one, book and movie reviews, etc. I'm excited for this, and I hope you are too! If you have any suggestions, feel free to leave them in the comments.

And now, without further ado, welcome to the first edition of "What I Love Wednesday"!


First, I'm loving these hair tutorials by Lilith Moon -- she shows how to make beautiful, seemingly complex hairstyles in an easy way. Here's one of my recent favorites:


I'm also loving this tutorial for magazine art from Strawberry Chic:


Another one of my favorite things right now is fancy nail art, like glitter nails and marbled nails. Sooo pretty!


This one is by Lyndar the Merciless -- I love that glitter at the bottom! It also looks nice on the tips of the nails.


This one is from Love Maegan -- I love how simple it is, with that eye-catching bit of glitter.


And this one is by Keiko Lynn. It's probably my favorite -- I tried it out and it turned out so pretty! It's really easy, too, though a bit time-consuming.

And last, but certainly not least, I'm loving sweaters, chunky or more delicate for Fall and Winter. The past few times I've gone shopping I've gone straight to the sweaters...and now my drawers are stuffed with them (literally!). Here are some of my favorites:


Image from here.


Image from here.


Well, I hope you enjoyed this first post of What I Love Wednesday! I know I had fun making it!


Tuesday, October 11, 2011

Ruche-Inspired Felt Flowers {Tutorial}

Hi everyone,

What do you think of the new layout? ^^ I figured it was about time for me to change my blog up a bit, and I'm really happy with how it turned out! I love the simplicity and overall clean look.

Anyway, after being in a month-long creative funk, where I pretty much spent my time doing nothing productive and was without inspiration, my creative muse is back, and I've been making things like crazy. This is something I've actually wanted to make for a long time...ever since I first saw them -- I was like, hey -- I could make that! And so I did.

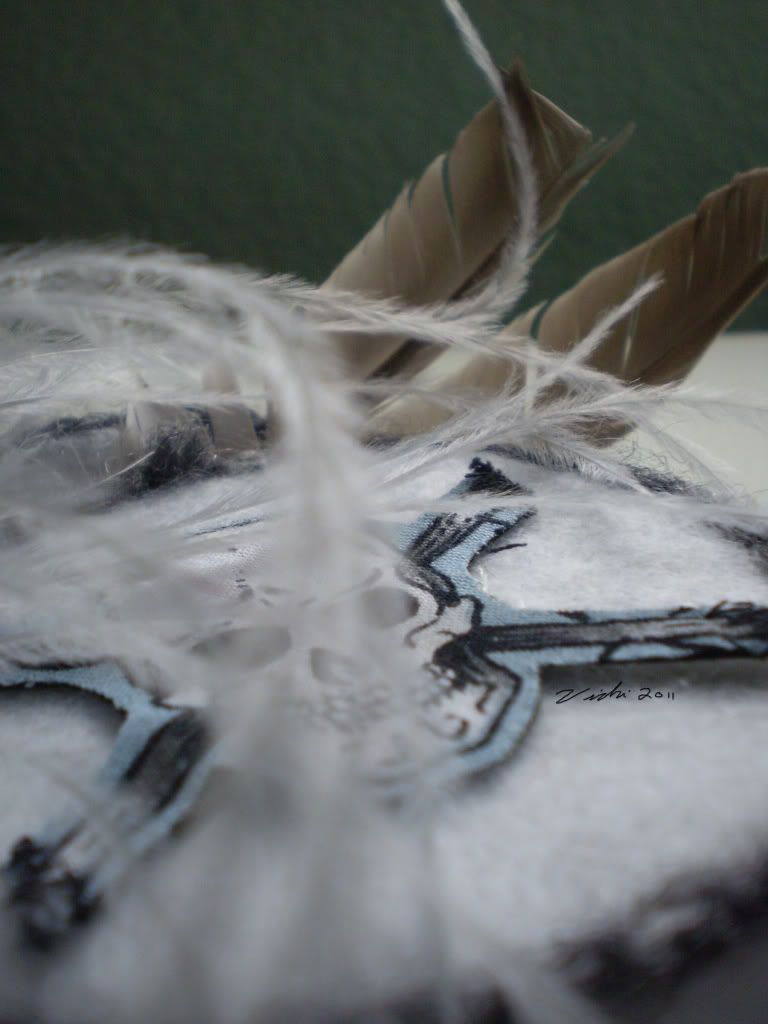
So here's my inspiration, the felted flower clip from Ruche:


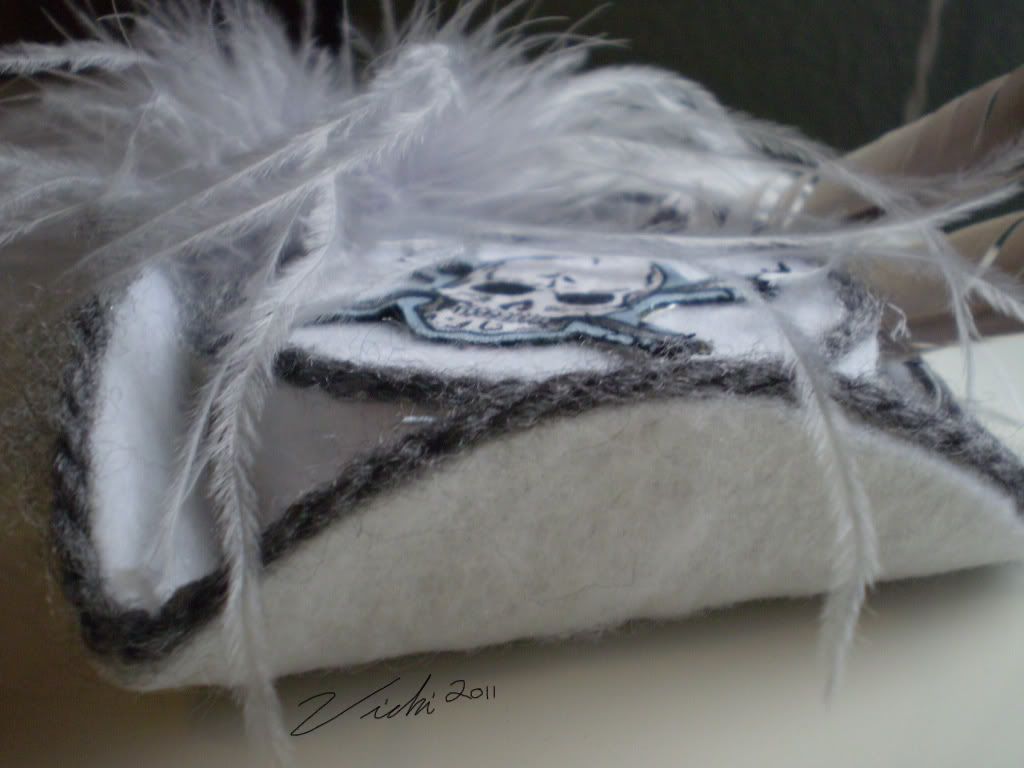
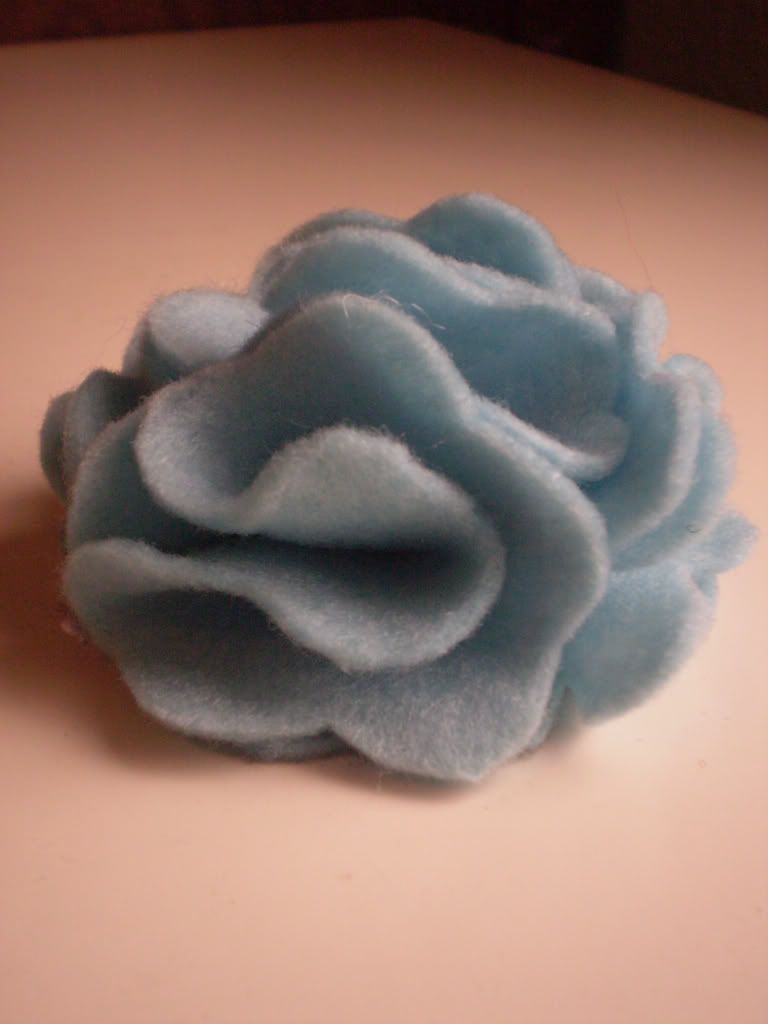
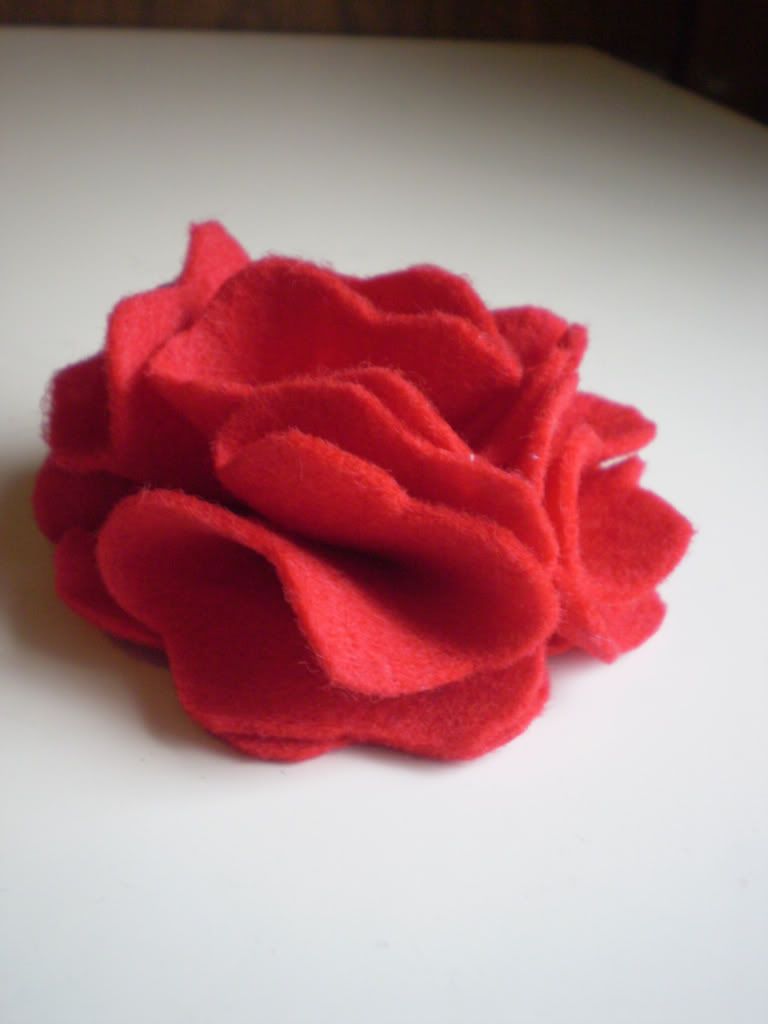
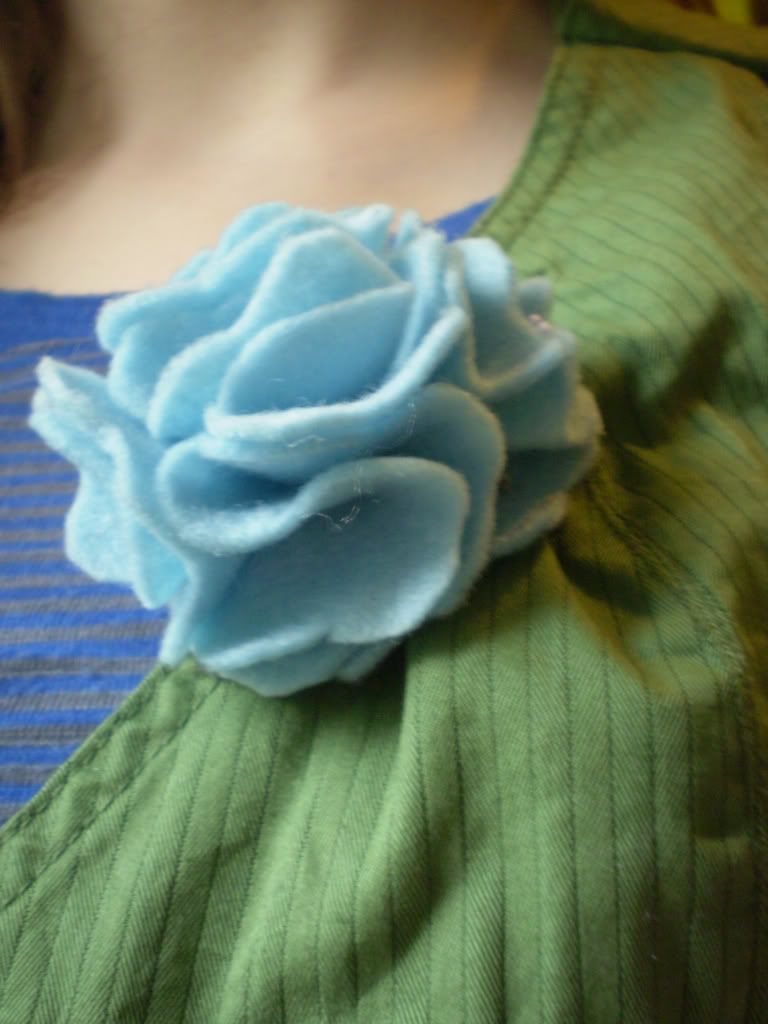
And here's what I came up with:


Pretty cute, huh? It can be used for just about anything you can think of...hair accessories (these two actually have clips attached to the back), pins, shoe clips, etc, and can be great for little girls, or even big girls (I love wearing them in my hair!). The other great thing is that they are very inexpensive to make -- the store I bought my sheets of felt from sells three sheets for $1!


Anyway, on to the tutorial!


You will need:
1. Felt
2. Scissors
3. Needle and Thread
4. Clip or pin to attach to the back, if desired.


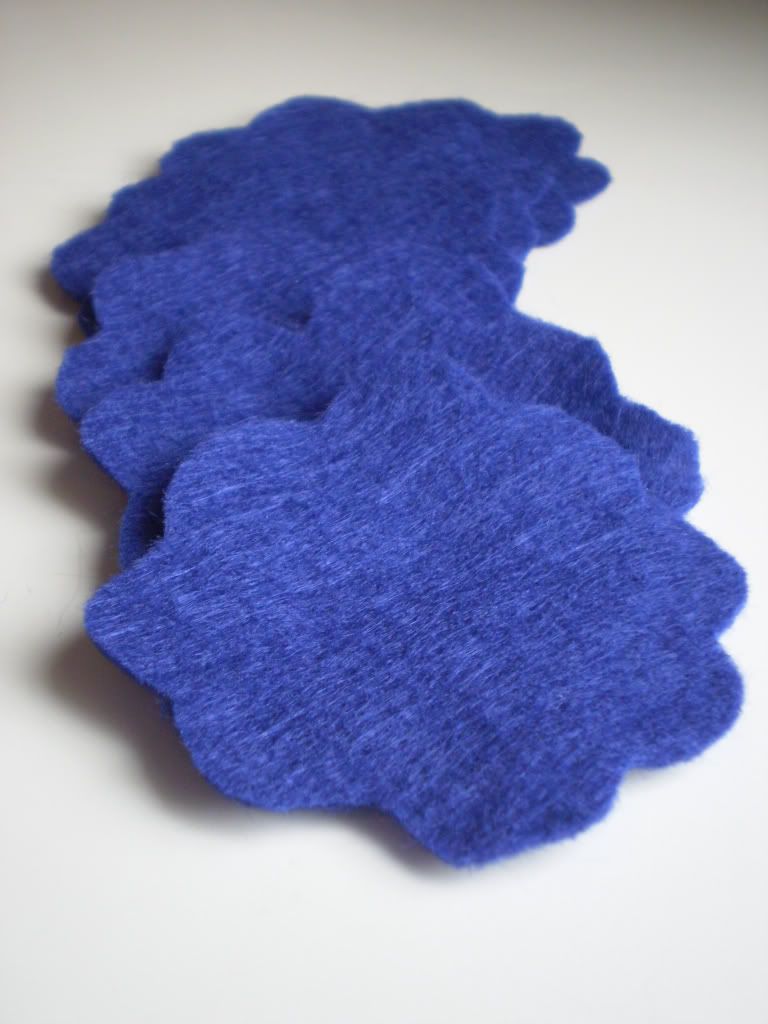
1. First, you're going to have to make a pattern. Draw a flower shape in the size you want (I tend to make mine about 2-3 inches wide) on a piece of scrap paper and cut it out.


2. Now, place your pattern on the felt and cut around it (you could also trace around the pattern with a pen, but I find it easier and faster to just cut it -- anyway, any mistakes you make will be hidden). Cut six of these flower shapes.


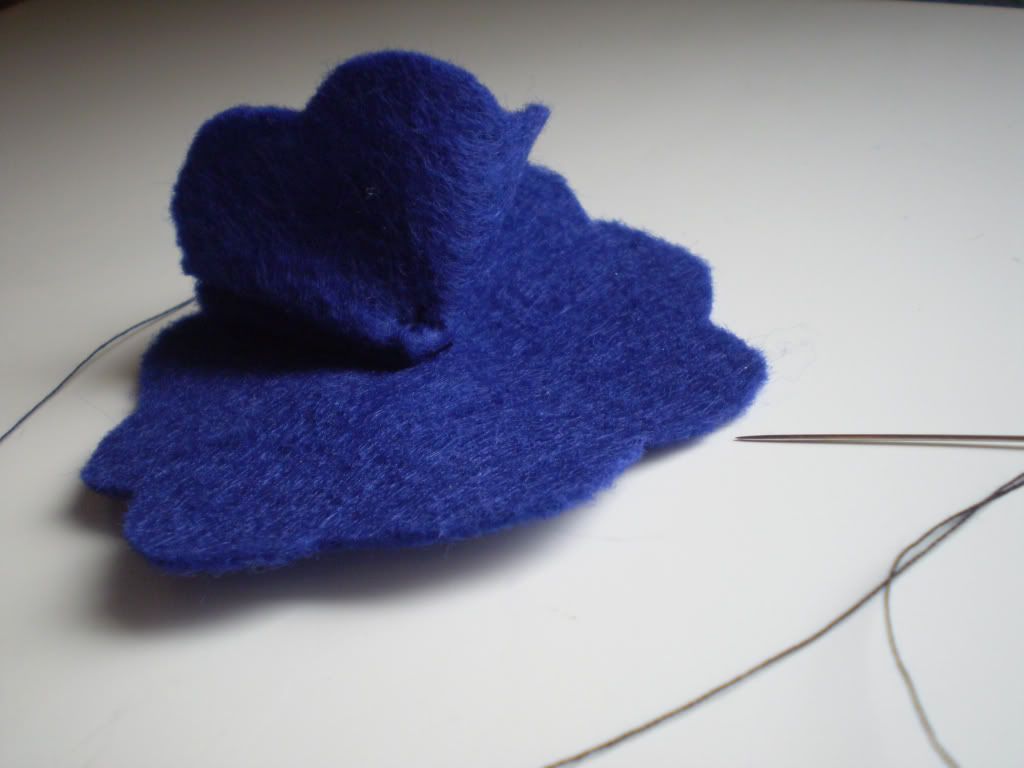
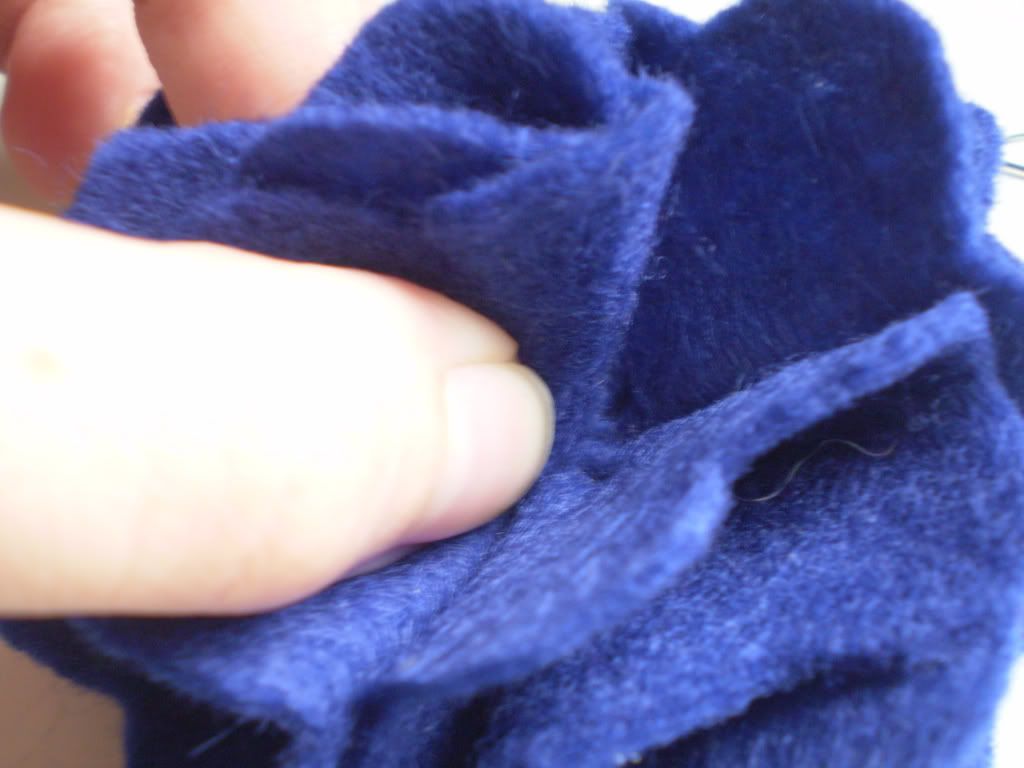
3. Take two flower shapes, one for the base, and the other for the petal. Fold one shape into quarters so that it looks like a triangle. Using your needle, sew a few quick stitches through the tip of the triangle and then sew it to the base, like so:


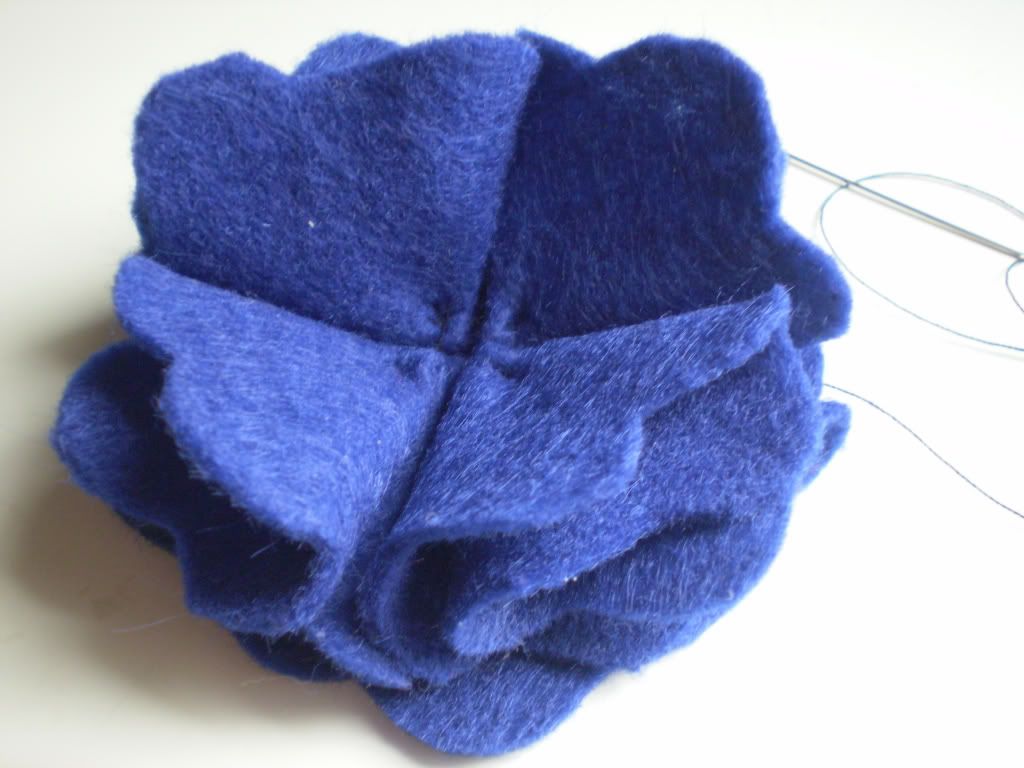
4. Repeat step three with three more of the flower shapes until you have filled in the four quarters of the base.


5. Take your last flower shape, fold it into quarters, and sew it into the middle of the base, in-between all the petals.


6. Fluff out your flower, and you're finished! If you want, you can either sew or use a hot glue gun to attach a pin or clip to the base of the flower.


Easy, huh?(:

Let me know if you try making it!

Have a lovely day!