Friday, January 13, 2017

How to Minimize Your Closet

Photo Jan 13, 1 13 33 PM

I like to go through my closet every few months (typically at the end of each season) and do a quick check to see if there are any areas that need paring down--clothes that don't fit, aren't flattering, are too worn, or that I simply don't reach for anymore. I've only just gotten back into doing this, after procrastinating for so long when I first had Adelaide--it took me a while to come to terms with the fact that some areas just aren't going to go back to their pre-pregnancy sizes, no matter how much I work out! And that's ok--there were just a few pieces that were especially hard for me to part with. I've also been wanting to drastically minimize, so that my closet is full of only the clothes that I really love and wear often, aside from the few special occasion pieces.

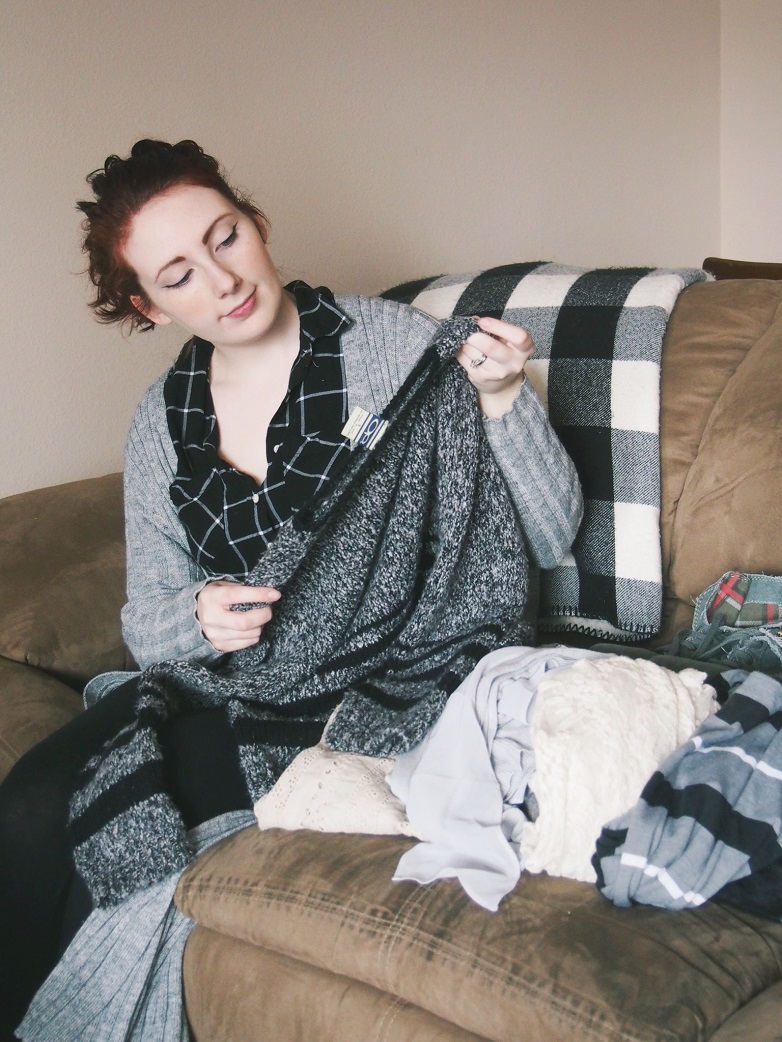
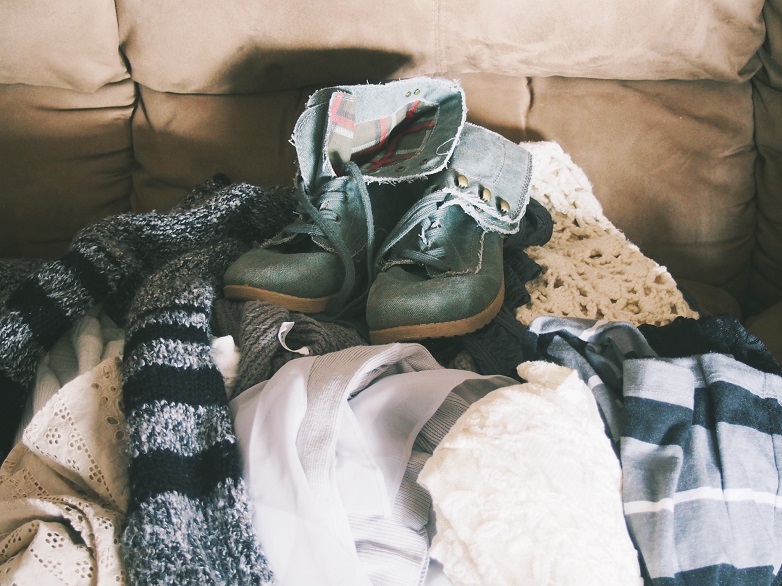
So, at the end of last month, I went through everything in my closet, and when I finished, I had packed up several boxes with items to donate and sell. I cleared out two drawers in my dresser, and it feels so good! Anyway, I thought I would share a few of my favorite tips for minimizing your wardrobe. They're a little more specialized than the ones I shared in my previous post on simplifying your possessions, and I hope you find them helpful!

Photo Jan 13, 1 14 21 PM

1. Pull everything out, one section at a time. This way you can evaluate every piece, and breaking it down into sections, like separate drawers or types, helps make the process more focused, manageable, and less overwhelming. After you finish one section, you can use the opportunity to reorganize.

2. Evaluate each item by asking these questions:
  • When was the last time I wore this? If you can't remember a single time you wore a piece in the last year, it's probably time to pass it on. If you're really attached, give yourself a time period, like three months, and see if you wear it at all during that time.
  • Do I like how this looks on me? This is important! If a piece of clothing doesn't make you feel happy and confident when you put it on, is it really something you want to hang onto?
  • Is it too worn (ie. is there pilling or holes)? This one is pretty self-explanatory. I will usually get rid of pieces immediately if they have holes, though I will sometimes make partial exceptions for pilling, if it's something I wear often and am interested in replacing with something similar.
  • Is it comfortable? Again, really important. No matter how much I love the look of that one dress or that one pair of shoes, if I'm uncomfortable wearing it for any length of time, I seriously consider passing it on. The only exception I've made to this rule is with my wedding shoes, which are just about the most uncomfortable things I've ever worn, but I love them to death, and I do still wear them as my 'special occasion' shoes.
  • Do I have similar pieces? If you have multiple pieces that are very similar to each other, consider paring them down to your favorite.
  • Does this work with the rest of my closet? I have this gorgeous, purple wool fit and flare skirt (with pockets!), which I love...but it's from back when I was obsessed with a vintage style, and it doesn't really go with anything that I wear currently. So I'm going to be selling it. Sad face. :(
  • If I were out shopping today, would I buy this? And not just if it were on sale! ;) But really, this is a good way to tell how much you really like a piece.

3. Try on any pieces you aren't sure about and look at them in a mirror. This is something that I find really helpful! This way, you can check the fit and see how it looks on you. Sometimes I find myself attached to the idea of a piece--maybe it's trendy, or maybe I saw it in a picture and loved it on the model--but it's just not flattering, and I don't find myself drawn to it when I'm picking out an outfit.

4. Get a second opinion. Ask a trusted friend for their thoughts. I like to grab my husband and ask him for his thoughts if there's a piece I'm not sure about. I know he's going to give me his honest opinion, and I have the freedom to take it or leave it. That's also why I like taking him with me when I'm clothes shopping, though I know he'd rather I didn't. ;)

5. Don't be sentimental. I've hung onto clothes because of the good memories associated with them, or because of how much I used to love wearing them, but if you're not wearing them now, and if they don't work with your other clothes, why keep it? It's only creating clutter in your wardrobe and distracting you from the pieces that you actually wear.

And there you have it! These are all things that I try to keep in mind and abide by as I'm going through my closet. As a final note, if you're really trying to pare down your wardrobe, try implementing the "one in, one out" method. Every time you buy a new piece, make yourself get rid of one old piece until your closet is a size that you're comfortable with. This will also help with curbing any bad spending habits if you don't want to have to get rid of anything! I'm currently working on this with my shoes, which used to be my greatest weakness. :)


Wednesday, January 11, 2017

My Everyday Makeup Routine

Photo Jan 11, 2 47 05 PM

Over the past year, I've made an effort to simplify my daily makeup routine. I think I finally got that down early this year when I was working at Panera in the mornings and gave my sleepy pregnant self a mere ten minutes to get ready. Since then, this has been my favorite everyday makeup routine...though, let's be honest, as a mama, there are often days I don't even get dressed, let alone do my hair or makeup. But when I do, this is my routine, or some variation of it. :)

Photo Jan 11, 3 21 08 PM
The first thing I do is cleanse my face--I really like these premoistened face wipes from Burt's Bees.

Then I fill in my brows with my Rimmel eye pencil.

Photo Jan 11, 3 24 57 PM
For my everyday eyeshadow, I like using this quad from Kat Von D's Shade + Light eye palette. I sweep the light brown shade ("Laetus") over my entire eyelid as a base, then add in a darker brown ("Samael"), blending from the outer corner towards the center, and into the crease. Then I use the darkest brown ("Solas") on the outer corner. I use the highlighter ("Lucius") on the inner corner of my eye. This creates a pretty gradient across my eyelid. :)

Photo Jan 11, 3 26 31 PM
Next, I use the ELF eyeliner to create a cat-eye.

Photo Jan 11, 3 28 14 PM
I use the face wipes to clean up any fall-out from the eyeshadow and then apply my foundation. I'm using Revlon's Colorstay Foundation in shade 110. I use my fingertips to apply and blend the foundation into my skin.

Photo Jan 11, 3 29 24 PM
I apply my concealer on top of my foundation. This one is the HD Concealer by NYX in shade number 1. I've seen contradicting tutorials about whether to apply concealer before or after foundation and personally, I find this works best. I dot it on with the applicator under my eyes and on any red spots or blemishes, then blend in with my fingertips.

Photo Jan 11, 3 30 27 PM
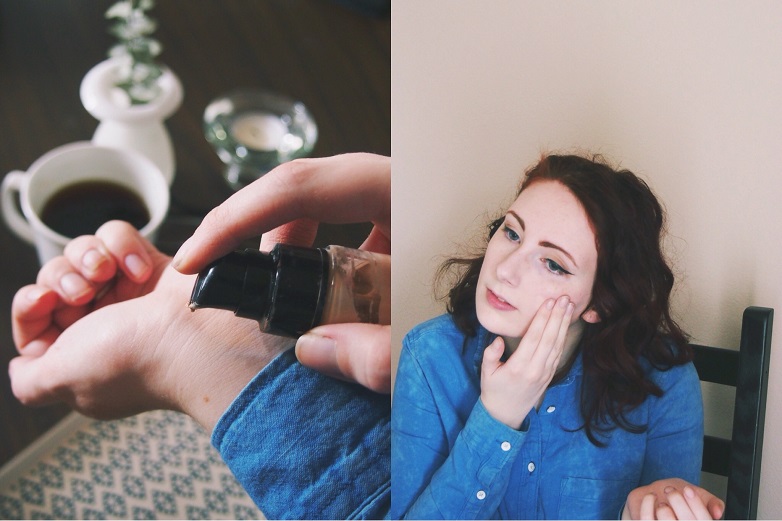
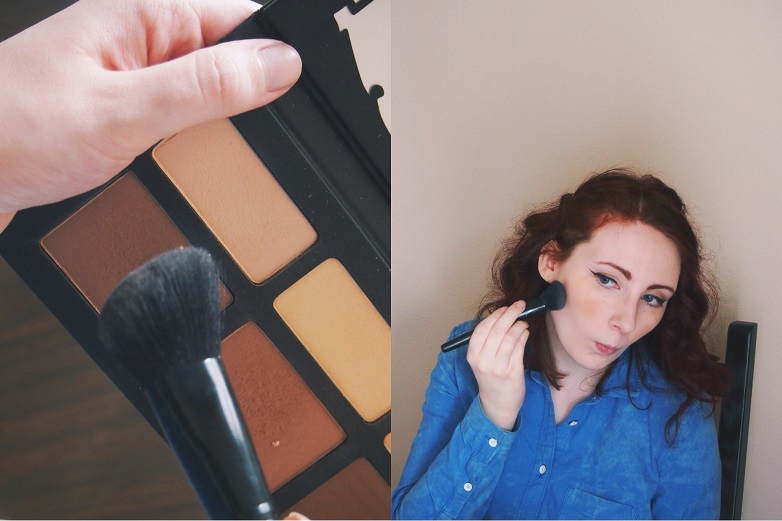
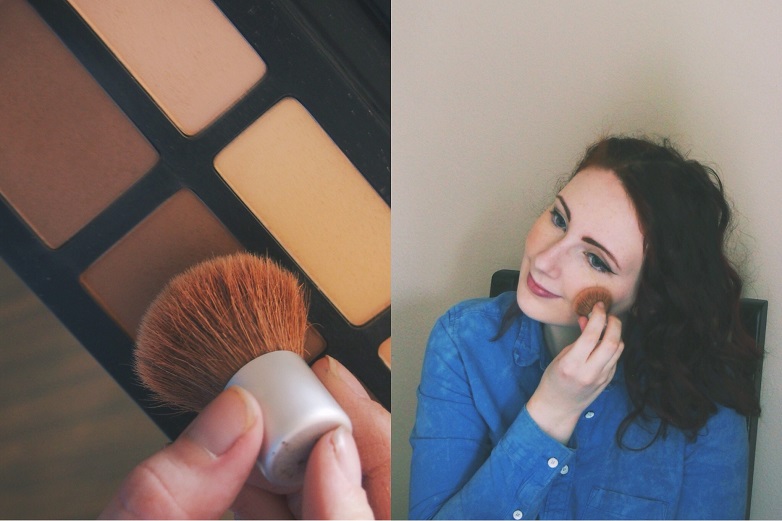
After concealer, I blend my blush into the apples of my cheeks. In this case, I'm actually using a bronzer--Shadowplay from Kat Von D's Shade + Light contour palette. I feel like it looks really nice and natural against my skin tone, especially in the fall and winter months.

Photo Jan 11, 3 32 09 PM
Then I sweep my bronzer, Sombre, from the Shade + Light palette again, onto my cheekbones.

Photo Jan 11, 3 33 26 PM
I finish my look with a matte powder, mascara, and chapstick. Here, I'm using Rimmel's Stay Matte Powder, Rimmel Scandaleyes mascara, and Burt's Bees chapstick.

Photo Jan 11, 2 58 49 PM
Photo Jan 11, 2 59 45 PM

And there you have it! The whole process takes about ten minutes, which is perfect for me as a busy mama. :)

What products are a must for your everyday makeup?

Shop this Post:


Monday, January 9, 2017

My Tips to Help Simplify Possessions

Photo Jan 09, 3 04 57 PM

Happy Monday, friends! Today is wonderfully gray and windy, and I couldn't be happier than to be cozied up on my couch typing this post. Like I mentioned in several previous posts, minimizing and simplifying possessions is a topic that has been close to my heart at this time. Right before the new year, I had the hubby bring home some empty boxes from work, and I readily filled them with items to donate or sell. It felt so freeing to load up the truck with seven large boxes to take to Goodwill! Our space is cleaner and more open because of it, and we're better able to enjoy the items that we really love and use often. I'm not quite done--I still have to tackle all the boxes in the shed--but this has been a great way to start off the new year and to work on my goal of simplifying.


Today I thought I would share a look into my process of minimizing. I've done a lot of reading over the years about how to reduce clutter, and through all of that, I've come up with a process that works great for me, and helps diminish all the unnecessary things I've been holding onto. Here are my top ten tips for simplifying your stuff:

Photo Jan 09, 3 07 52 PM
Photo Jan 09, 3 05 53 PM

1. Get yourself in the mood. Get your favorite playlist going and grab yourself a drink to get yourself motivated. :) This makes the process feel much less like a chore!

2. Tackle one section at a time. Divide your space into sections (the smaller, the better!), and approach each one by itself. For example, it might be rather daunting to declutter your entire kitchen in one go, but if you choose to take just one drawer or cupboard at a time, the process becomes much more manageable.


3. Lay everything out. So with that kitchen drawer, take out the entire contents and lay them out on the counter. This way you can see everything clearly, take inventory, sort, and get rid of excess. For some reason, I had seven spatulas cluttering my kitchen drawer. I cut it down to three.

4. With each item, ask yourself questions like: What purpose does it serve? How often do I use this? Do I have something else similar? Can I do without it? Does it bring me joy? And answer them honestly. Your answers will show you if it's time to let that item go.

5. Don't hang on to things simply because you "might use them someday." There are, of course, exceptions to this rule, but if the chances of "someday" happening are less than 75%, chances are it may be time to pass that item on.

6. Don't think about how much something cost. There are a few things that I hung on to far longer than I should have simply because I remembered how much I spent, or felt guilty because of how much someone else had spent on me. If such an item still has worth, you can try selling it, or passing it on to someone who will use and enjoy it more.

7. Try to remove sentimentality from the equation. I have to admit, this is really hard for me. I hung on to so many things from my childhood simply because of the sentimental value attached to them. But think of it this way: if you don't use it or display it, what is the point of hanging on to it? If it lives in a box in your garage and is only pulled out by accident when you're looking for something else, is it really worth keeping? I ran into this problem last week when my husband was sorting through his shirts to get rid of the ones that had shrunk or were too worn..."But I LOVE that shirt on you!" He managed to talk me out of keeping all of them as nightshirts, thank goodness.

8. If you're having a really hard time getting rid of something, try taking a picture, or a scan. This is also a good way to cut down your files, or to save children's artwork. Pictures only take up space on your hard drive, as opposed to physical space.

9. What about gifts or items that were inherited? Don't feel like you're obligated to hang on to something just because it was a gift or an inheritance. If it's not your style, if you hate it, if you never use it, what is the purpose of keeping it? I struggle with this, too--I held on to an ancient, creepy doll that I inherited from my great-grandma for years (it lived in the back corner of my closet), because I felt obligated to keep it. Then when I was moving, I discovered that my sister-in-law's aunt collects old dolls, so I readily gave it to her. If you're not a fan, pass it on to someone you know will love it, donate it, or sell it, and feel better knowing that the item is going to make someone else happy.

10. Think about it. If there's something you're not sure about, give it a few months. See how often you use it and how much you like it at the end of that time, and if you didn't get a lot of use from it, or if you feel indifferent toward it, get rid of it.

Finally, remember this is an on-going process (especially if you have kids!). There are always going to be more clothes that don't fit and items that are worn from use, or are no longer being used. Just edit these things as they come up to keep the clutter from accumulating.

And there you have it! This was a fairly generalized post, but I'm planning on also writing one on simplifying your closet, and also a couple on how to keep the clutter from building back up.

Do you have any decluttering tips you'd like to share? I'd love to read them!

Friday, January 6, 2017

DIY 20-Minute Wall Hanging

Photo Jan 06, 1 06 14 PM

Happy Friday, friends! It's been a long week over here, but a successful one. I got my Christmas decorations taken down, boxed up a bunch of things for Goodwill, and kicked the bedrooms and the laundry room into shape (now to move on to the rest of the house!). I think it must be something about the new year, but I've been really excited to change up the decor of our little space. I'm happy with all of the rooms currently except for the main living space, so I've been spending lots of time (too much time) on Pinterest searching for inspiration to make it work better and feel cozier and better put together overall. One new decor piece that I'm excited about is this little wall hanging that I whipped up a couple of weeks ago. It's that perfect combination of minimal and bohemian, which I love so much. It's so quick and easy, but can make a big impact on a wall. Here's how I put it together:

Photo Jan 06, 1 11 28 PM
Supplies:

01. Yarn

02. 12-Gauge Wire

03. Wire Cutters

04. Scissors

05. Coffee or tea (always a necessity)


Photo Jan 06, 1 10 10 PM

First, curve the wire into the shape that you want. I went with a circle, but I think a triangle would also be super cool, as would any number of shapes! Leave a bit of extra wire so you can wrap the ends together (don't worry--this will be covered with yarn in the end!). Then snip with the wire cutters.

Now decide how long you want your yarn fringe to be. I went with about a foot. Double your measurement and cut lots of strips of yarn to that size (so I cut 24-inch lengths).

Photo Jan 06, 1 09 15 PM

Fold the yarn in half to form a loop at the top. Place it under the wire, then pull the ends through the wire to secure the yarn to it. I chose to use one piece of yarn at a time, but you can use as many as you like to create varied thicknesses.

Repeat this until you have achieved the width that you want on your hanging.

Photo Jan 06, 1 08 25 PM

To finish, you can give your hanging a haircut to make sure all the ends are even. I chose to cut mine in a triangle shape at the bottom to add some extra interest.

Photo Jan 06, 1 07 42 PM
Photo Jan 06, 1 05 28 PM

And there you go! Let me know if you make one of your own, and maybe send me a picture? I'd love to see it!

Wednesday, January 4, 2017

2016 in Review + Goals for 2017

Photo Jan 04, 1 35 42 PM

Happy 2017, friends! I hope your new year is off to a great start!

I feel like 2016 got a really bad rap--I saw a lot of negativity in my Facebook feed as the year wound down, and lots of posts dubbing 2016 as the worst year ever. And while I do agree that there were (are) a lot of awful things happening in the world, I certainly didn't see this year as the worst, or even a particularly bad year. It was just another year for me, and just like any year, it had its highs and its lows. Actually, as I was reflecting on this past year for me personally, I almost thought I would instead name 2015 as one of my worst years. But then again, there was so much good that happened, and there were a lot of happy days mixed in with the bad. And it was very much the same with 2016.

As far as the bad, I started the year in a bad place, then later, after Adelaide was born, I battled postpartum depression for the first three or four months. And I will say, without any exaggeration, those months were the longest and hardest of my life. I seriously questioned whether I would ever feel normal again. I'm doing significantly better now, but I'm still dealing with the residual effects.

But as far as the good--I got married in January to my favorite person in the whole entire world and got to wake up next to him every day. I went to New Orleans with him for an amazing honeymoon. We bought our first home together. I gave birth to our sweet, silly little girl. We celebrated our first Christmas as a family.

2016 was a challenging year, but it was full of so many blessings!

I'm so thankful for the past year. 2017, though, is fresh, new, and exciting, and I have lots of plans.

Photo Nov 14, 2 15 18 PM

I'm not a fan of resolutions...I've made them in the past, and been really gung ho about them until approximately the end of January. This year, I've decided to place my focus on goals and intentions. These are some of mine for this year:

Personal Goals:

This year, I really want to focus on simplifying. I watched the documentary Minimalism last week, and it really inspired me to do another big round of decluttering in my home. I want to continue to be intentional and deliberate about what I bring into my home, and I want to work on incorporating that spirit into personal life--decluttering, slowing down, taking pleasure in routine, etc. :)

-Get in (healthier) shape

-Love my husband and daughter better

-Be more intentional with how I spend my time

-Create more

-Take time out for myself each day

-Learn to hand-letter

-Start up daily devotions with my husband

Blog Goals:

My blog goals for this year are a little more abstract. I want to work on really finding a direction for the blog, planning ahead, creating quality content, and sticking to a consistent schedule. I'm also interested in learning about the more technical aspects of blogging (like SEO). Finally, want to learn more about photography, so I can utilize my camera to its best potential.

This year, you can expect to see:

-Lifestyle posts

-Capsule outfits

-Beauty posts

-Decor posts

-The occasional tutorial


I'd also love to hear any suggestions you have for posts you want to see!


What are your goals and hopes for 2017?