Friday, May 27, 2011

Ruffled Jewelry Box from a Cigar Box

Hi everyone,

I know it's been awhile since I last posted...I feel like when I have less work to do, then I post less, haha. Anyway, I have a tutorial for you today! It's been a long time since I did one of those, too, so I'm excited! And I really love this project...I hope you do too!

Anyway, I'm going to show you how to make a cute, ruffled jewelry box from an old cigar box. My inspiration came from those ruffled pillows, like this one:


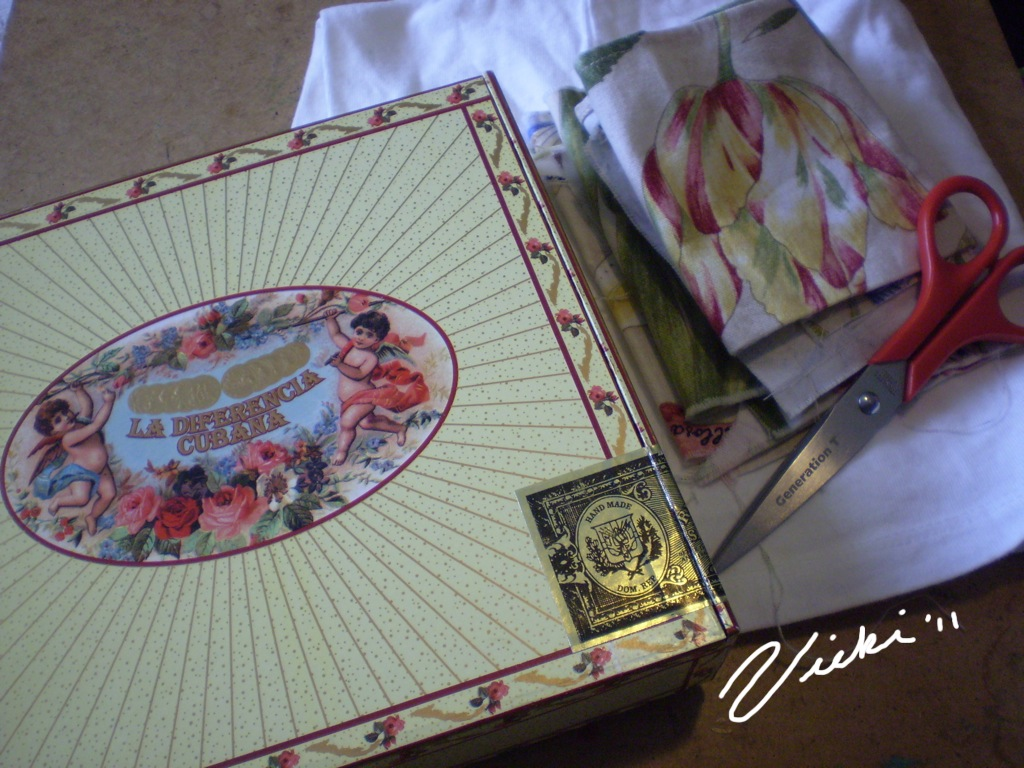
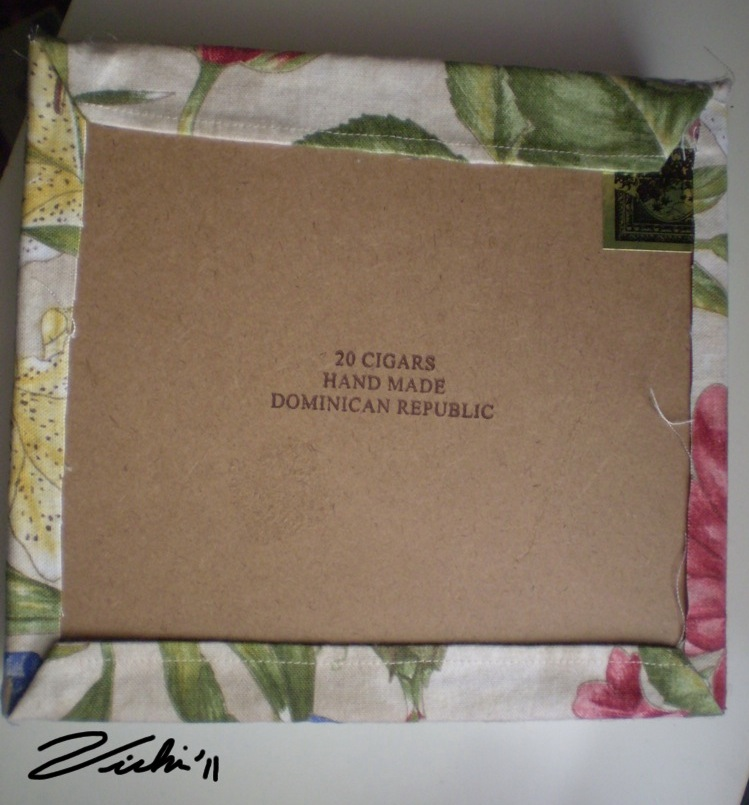
I had a couple of cigar boxes that I had picked up at Goodwill for about a dollar apiece. If you can't find one, it probably would be pretty easy to adapt this idea for other boxes as well, maybe even just an inexpensive jewelry box.

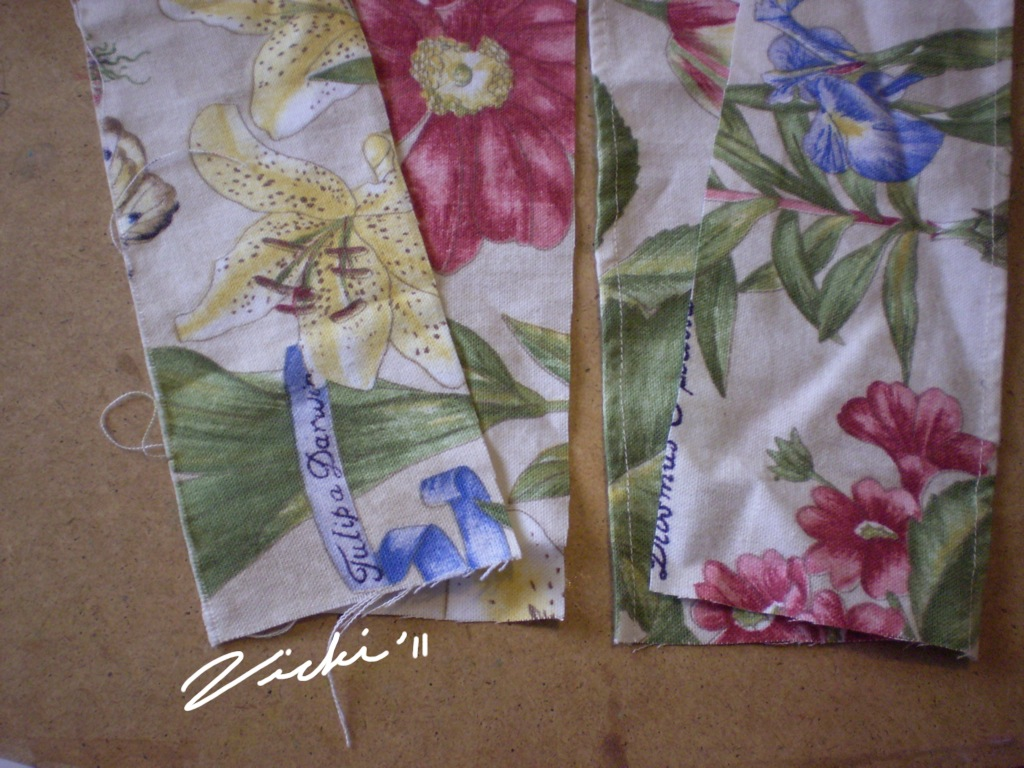
Aside from that, you will need, two different kinds of fabric (I used white jersey and a heavy, flowered fabric), your usual sewing supplies, glue (and unless you are really patient, I would definitely recommend using hot glue), and that's about it!


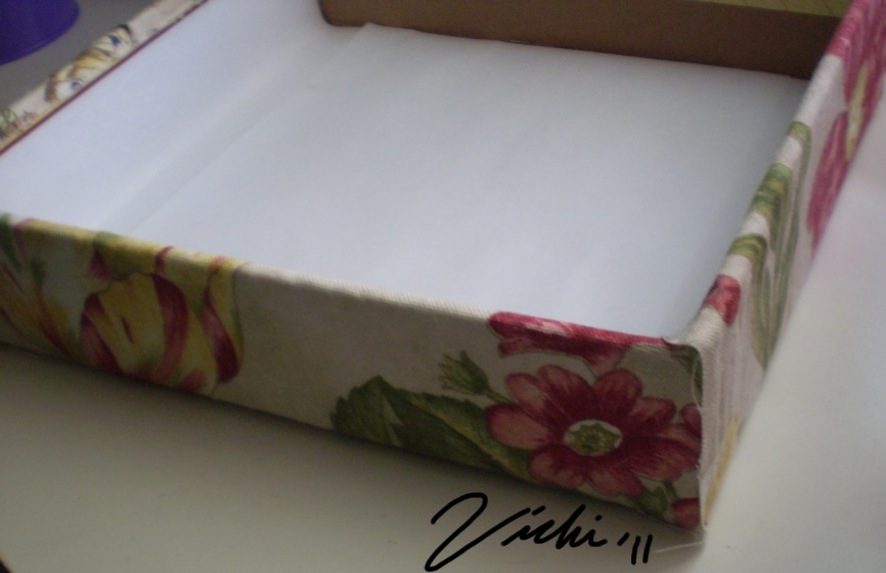
Now, you'll have to cut the fabric that you want to use for the sides of your box. Carefully measure the sides, and cut, making sure that you have about an inch or so extra in the width so that you can fold it under the box and over the sides for a cleaner look. Also, on the pieces that you are going to use for the front and back sides of the box, make sure that you leave about an inch and a half of length, because you're going to want to fold those onto the other sides, again for that nice, clean look (I'll show you what I mean in a minute).


Now, we're going to glue the strips to the side of the box. I usd hot glue to make it faster, though I'm sure that regular fabric glue would work just as well. Glue your long front strips first, and fold them so that they cover a bit of the adjacent sides as well. Then glue the two smaller side strips, which should cover the folded over parts of the front (and back) strips.
Then, flip your box over to the bottom and fold the fabric so it lays flat (this is exactly like wrapping a present).And then do the same thing on the inside of the box. On the back strip, which you won't be able to fold in at the top, just fold it over the top of the box and glue it down.
You should end up with this:


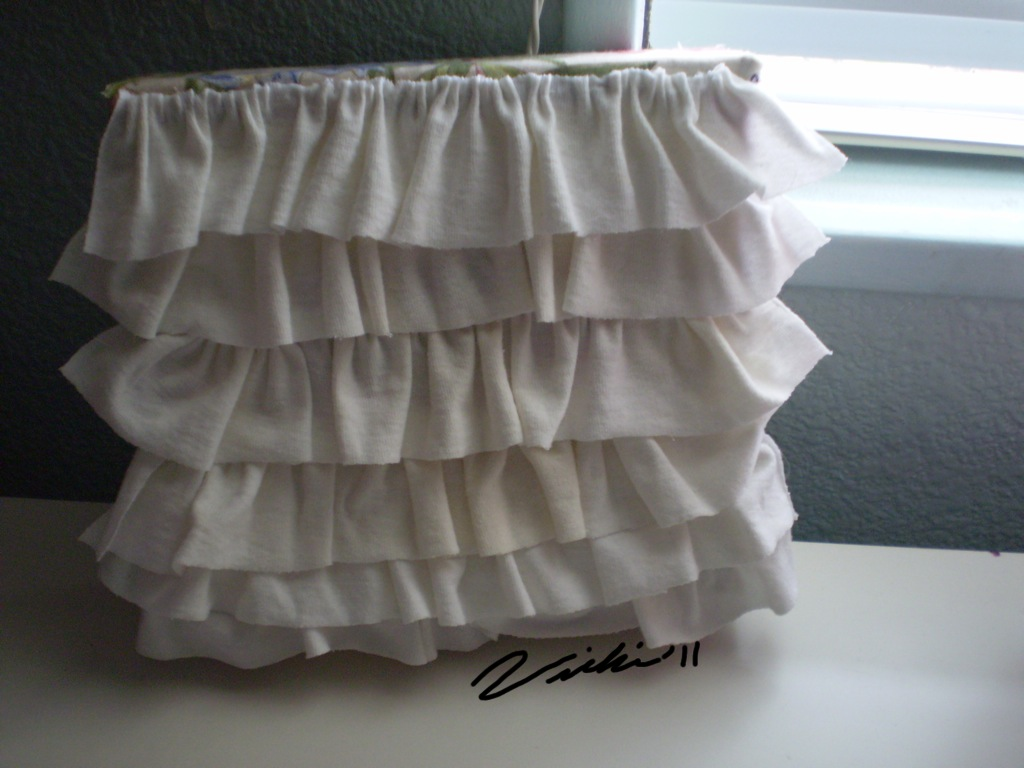
Now for the ruffles!

Take your jersey and cut 5 or 6 1 1/2 to 2 inch wide strips (length is up to you, depending on how ruffly you want it), or however many you need to cover your box adequately. Sew them into ruffles...


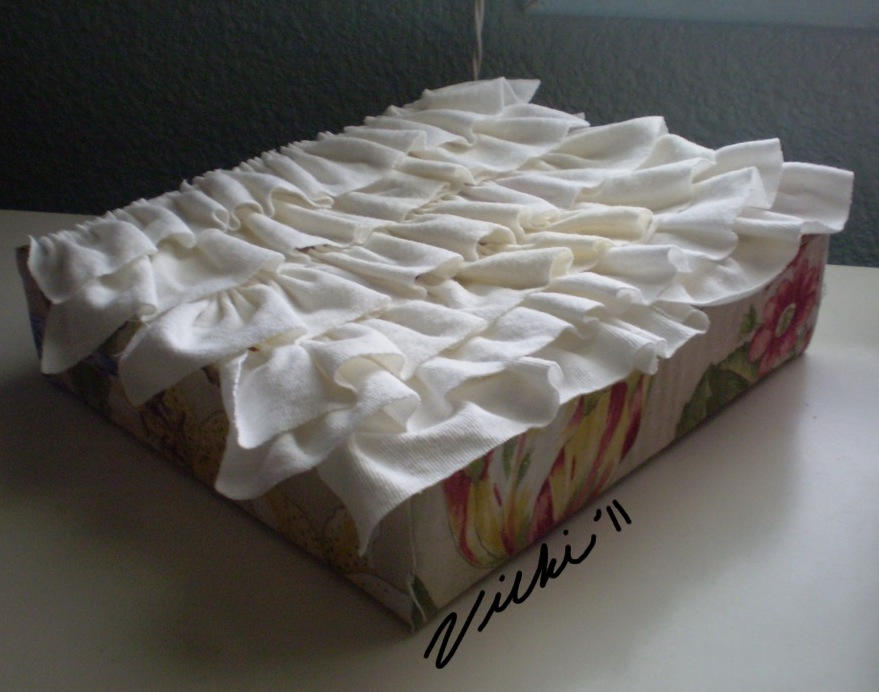
...And glue them (and I recommend starting at the bottom, because I did mine at the top which causes unnecessary difficulty) to the top of your box.

Then...you should end up with something like this:


And there's your finished box!


Cute, huh? It does take a while to make, but the results are so satisfying, it's totally worth it!

I hope my instructions weren't too confusing...if you want to make one, and you can't get it figured out, just let me know, and I'll try and clarify it.

Anyway, have a lovely weekend!

~Vicki

Friday, May 20, 2011

Some artwork for my room...

Hi everyone,

How has your week been?(:

May I just say that mine has been pretty much fantastic. I'm in love with life right now and on a definite creative streak.Who know how long it'll last, but I'll take advantage of it while its here!

I'm also pleased to have found out about my A on my government midterm...my teacher wrote on my paper, "You really NEED to go to law school!" Hmmm...I'm working on that!(;

Anyway...I took a couple photos last week of some of my more recent projects (goodness, there are so many of them, I may never be caught up...), and I thought I''d share them with you today. They probably each deserve a special post for themselves, but I only have one picture of each and am too lazy to make two posts, hehe.

So. Remember perler beads? My mother bought a big square for me to use, and of course, I quickly sat down and began working on it (after several hours...arranging those little beads is hard work!). Here's what I came up with:


Cute, huh?


Then, I realized that I haven't been drawing a lot lately, and I actually really miss it. Even just doodling and coloring in a coloring book, haha. I also wanted something kinda fun to fill up an empty space on my wall. So I came up with this:


I really love it! I tried to imitate Mucha a bit with his art nouveau style, adding a few of my own elements, like the dragon and the quotes, which read, "In Somnis Veritas," or "in dreams there is truth,' and "through dreams we discover reality."

Well, have a lovely day! The sun is shining here and it's nice and warm, so I'm happy.(:

~Vicki

Friday, May 13, 2011

Recycled Cuff Bracelets

Hey everyone,

This is one of my favorite new projects - it may become a trademark, right next to my headbands.(: so expect to see more of these!

I had been seeing a bunch of tutorials for cuffs made out of recycled cardboard tubes, and I decided that I had to make some, because they were just too cool! And what a great use for something that you would have thrown out otherwise! Honestly, if you look at these, you can't even tell what they're made from - my family didn't, and I've gotten so many compliments on them! I made these two for my sisters, to match their Easter dresses.


This first one I covered with some blue tie-dye fabric on both sides, then I glued lace over the top of that to give it a fancy, feminine look, and then, I added a pretty white rose to the front. Oh - and I can't forget the ties at the back!


This one took me a long time to make...choosing the designs is always tricky for me - it has to be just perfect! But I love how it turned out! ^^


Here's how it looks on (this is not the best picture - ignore my dragon's claws!):


Well, have a lovely day! It seems like spring has finally arrived here...the air is warming up, and I'm almost ready to drop the long sleeves.(: And we're starting to see more sun than rain, which is quite exciting. What about you - has spring sprung yet?(:

~Vicki

Tuesday, May 10, 2011

For the Love of Bangles...

So a couple weeks ago, when I was completely sick of college and homework, I sat down in-between classes, pulled out my beads, and had a party with stringing them together to make fun, eclectic bracelets. I made a bunch that day, and may I say, beading is a GREAT stress-reliever....just sitting there and putting together beads that look pretty, and really, with these, anything goes, which is why I love them so much!(:

Sooooooo....wanna see what I came up with?(:


Blue is my favorite color. Truly. I love all the different shades it can come in. If I could I would only wear blue every day for the rest of my life. That's how much I love it. So of course, I have to have lots of blue bracelets! I really love these two...they're very feminine and romantic, and are just perfect for dressing up a t-shirt.


Usually, I don't wear much pink. But I must admit, these bracelets (well, I guess one is more of a purple) make me want to wear more or it. ^^


These ones I made for my friend's birthday gift. I am loving the bright, sunshine-y color of yellow right now, so I was tempted to keep those two to myself, and I figured that with the blue she could mix and match them to suit her style. Nice, versatile bracelets, and very pretty.

Well, that's it for today! I hope you enjoyed seeing what I've been up to lately!(:

Have a lovely day!

~Vicki

Monday, May 9, 2011

Decoupage Plate

It's been a looooong time since I posted...but midterms are almost over with, and so I should be back with lots of posts, at least until finals.(:

Anyway, I actually made this plate a long time ago, when I was trying to come up with different DIY options for decorating my room. It didn't turn out quite as I had expected, but I'm pretty happy with how it looks! I was inspired to make this by a post on my friend's blog Creative Mind, where she transformed an old plate into something cool with newspaper. Here's hers:


& here's mine:


It's perfect for setting on a shelf, don't you think? It's just phone book pages, some magazine pictures, yellow acrylic paint, and a silhouette, drawn by me.(:


Well, have a lovely day (or night)!(:

Hopefully I'll be back with more posts soon!

-Vicki