
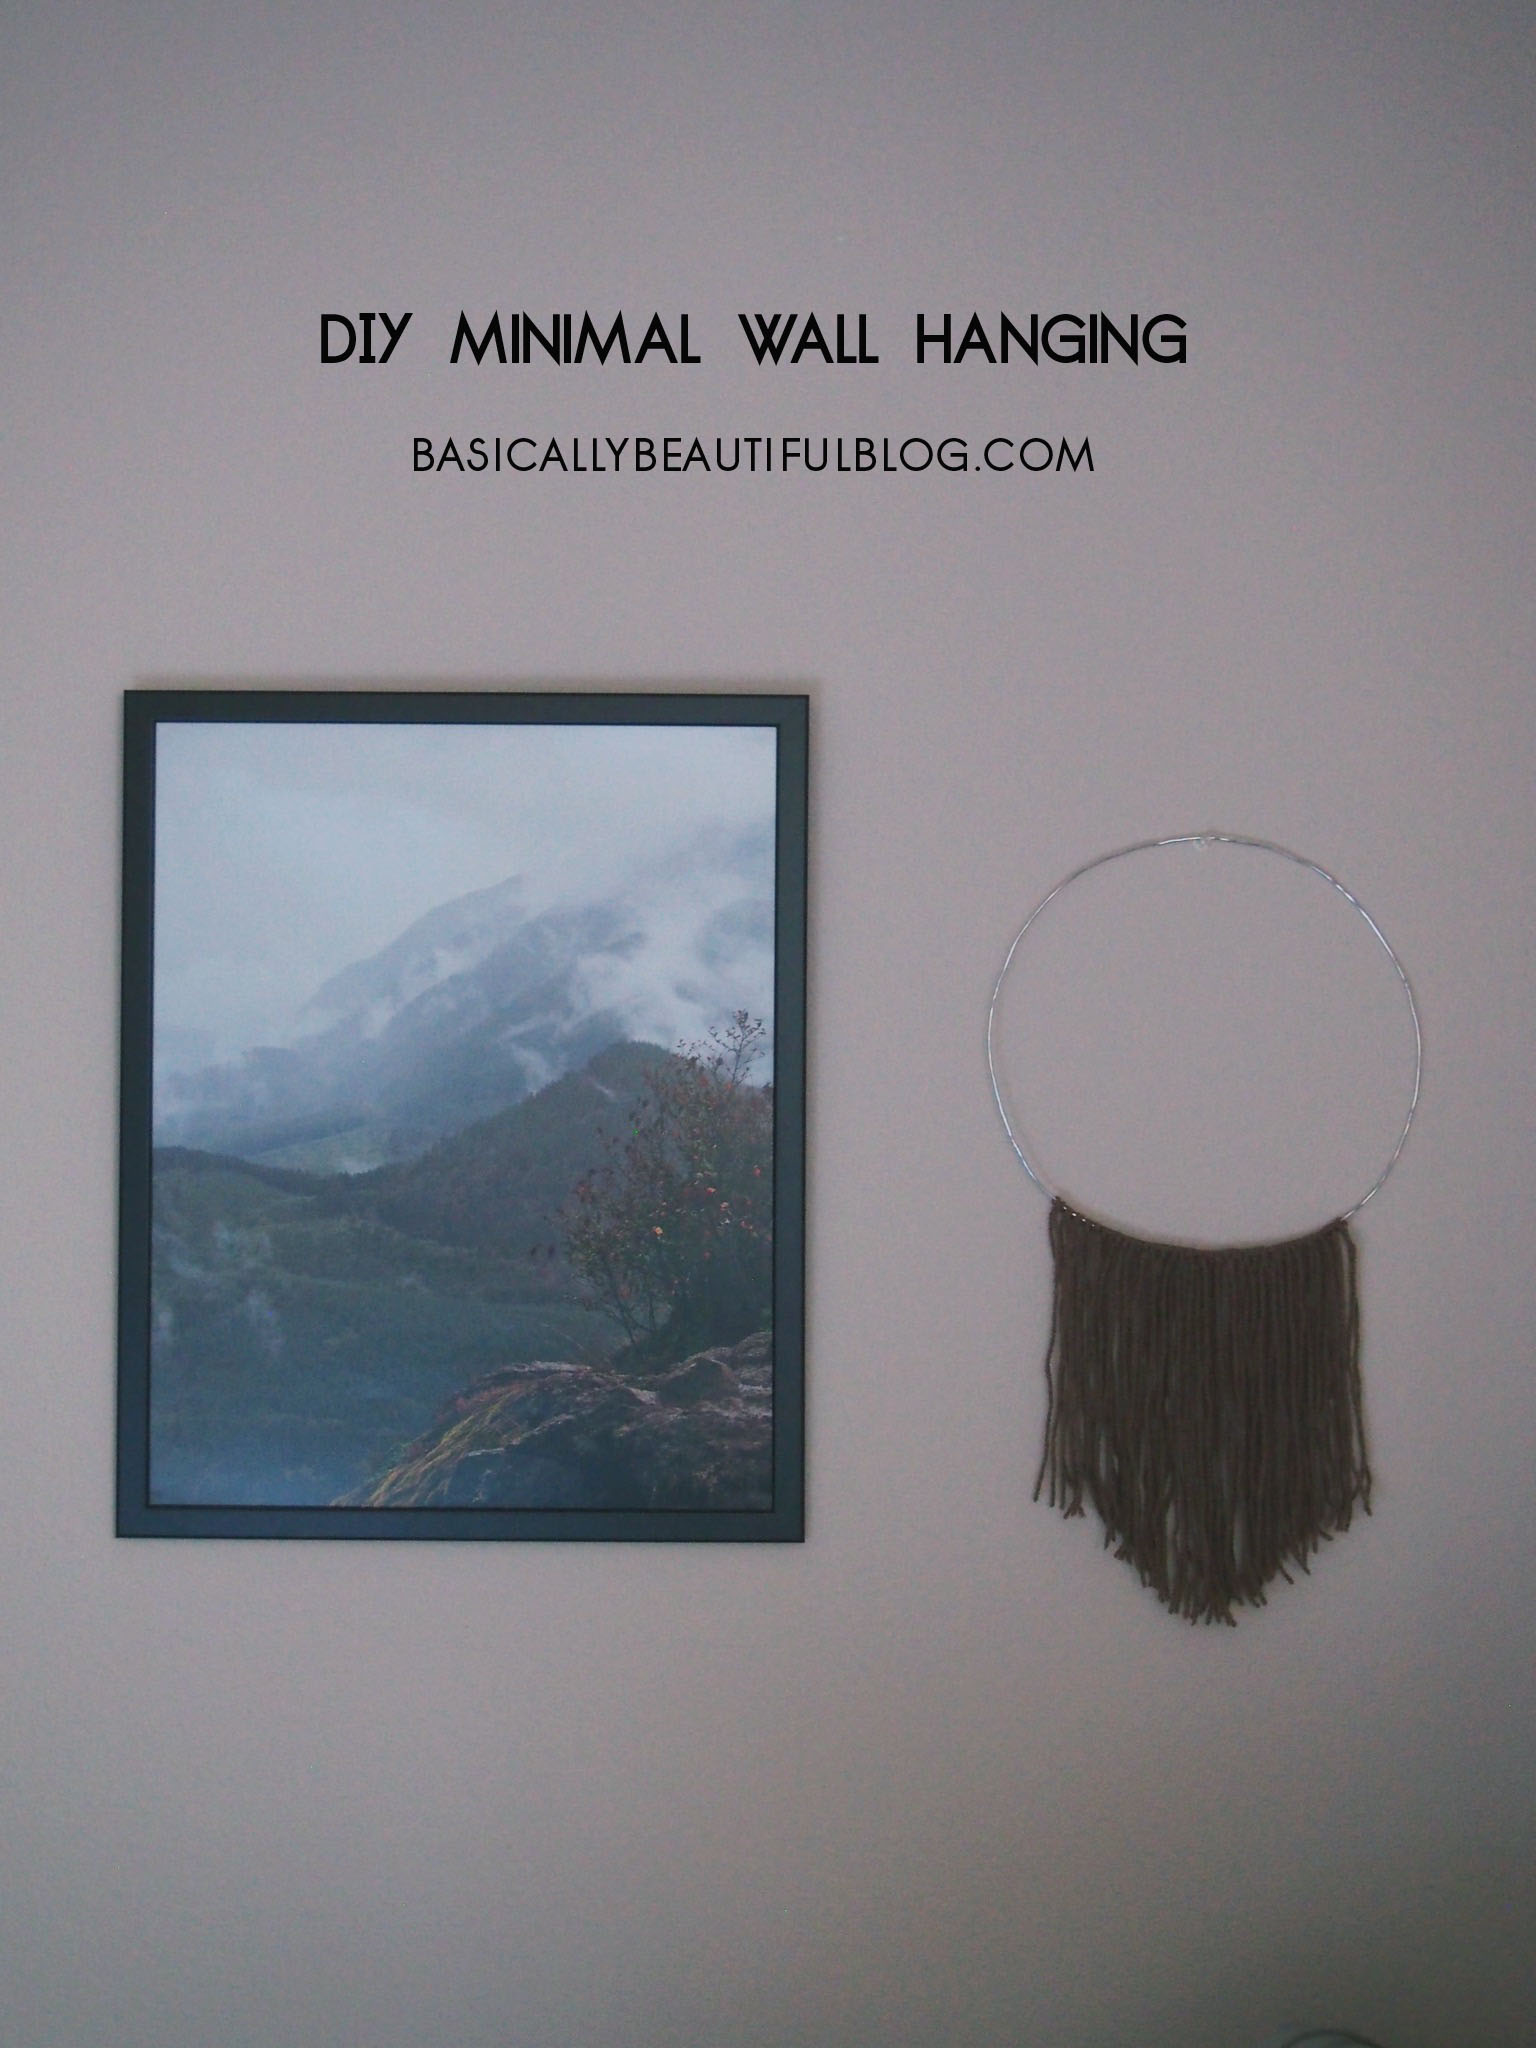
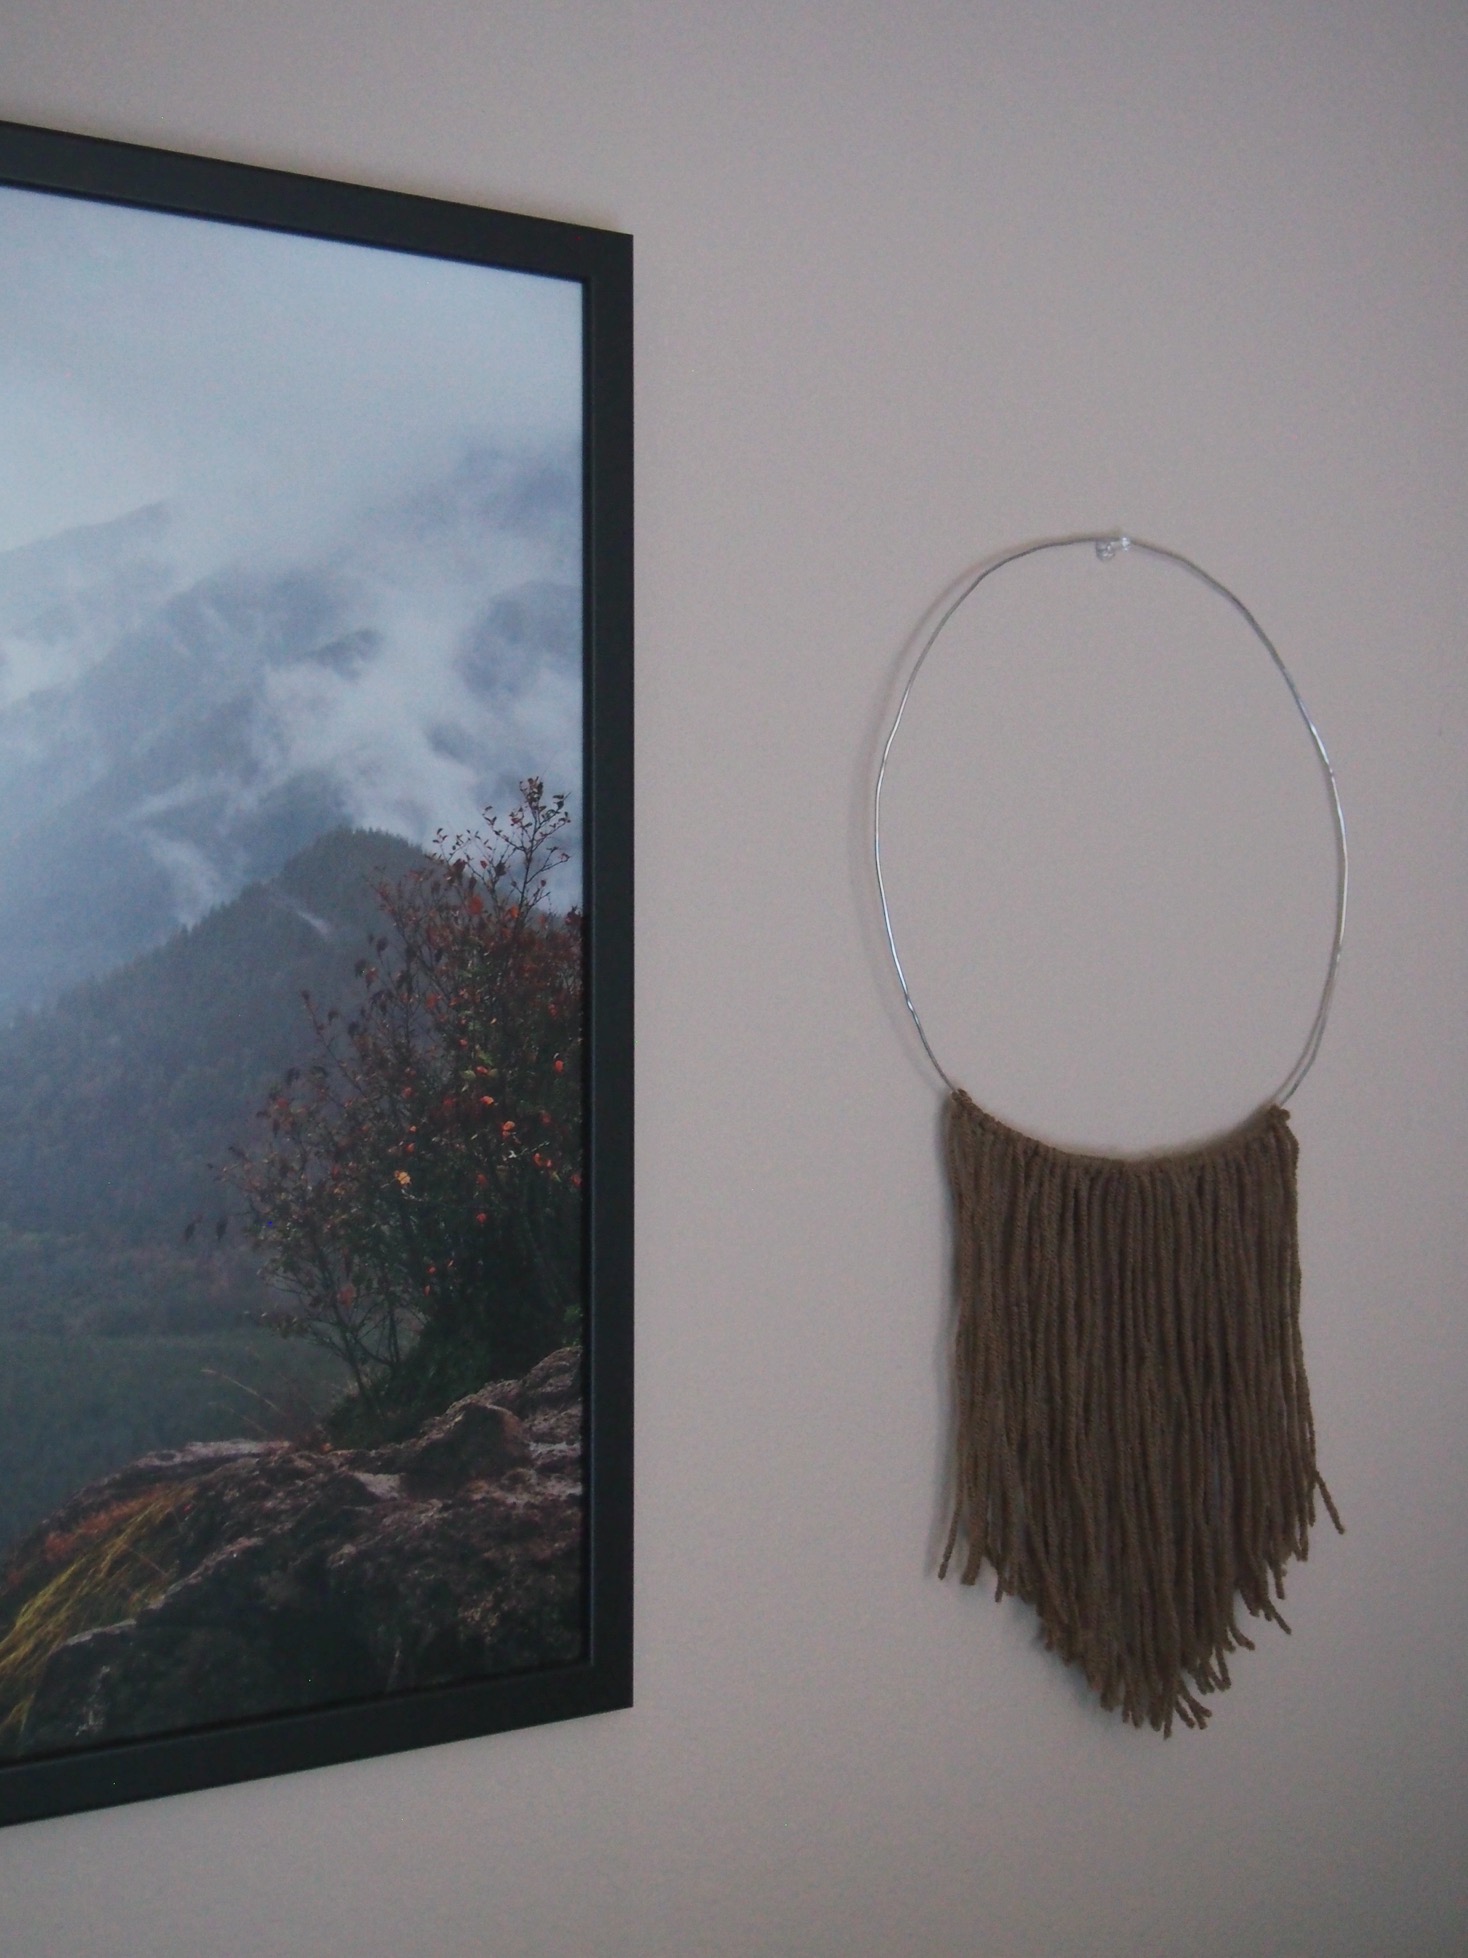
Happy Friday, friends! It's been a long week over here, but a successful one. I got my Christmas decorations taken down, boxed up a bunch of things for Goodwill, and kicked the bedrooms and the laundry room into shape (now to move on to the rest of the house!). I think it must be something about the new year, but I've been really excited to change up the decor of our little space. I'm happy with all of the rooms currently except for the main living space, so I've been spending lots of time (too much time) on Pinterest searching for inspiration to make it work better and feel cozier and better put together overall. One new decor piece that I'm excited about is this little wall hanging that I whipped up a couple of weeks ago. It's that perfect combination of minimal and bohemian, which I love so much. It's so quick and easy, but can make a big impact on a wall. Here's how I put it together:
Supplies:
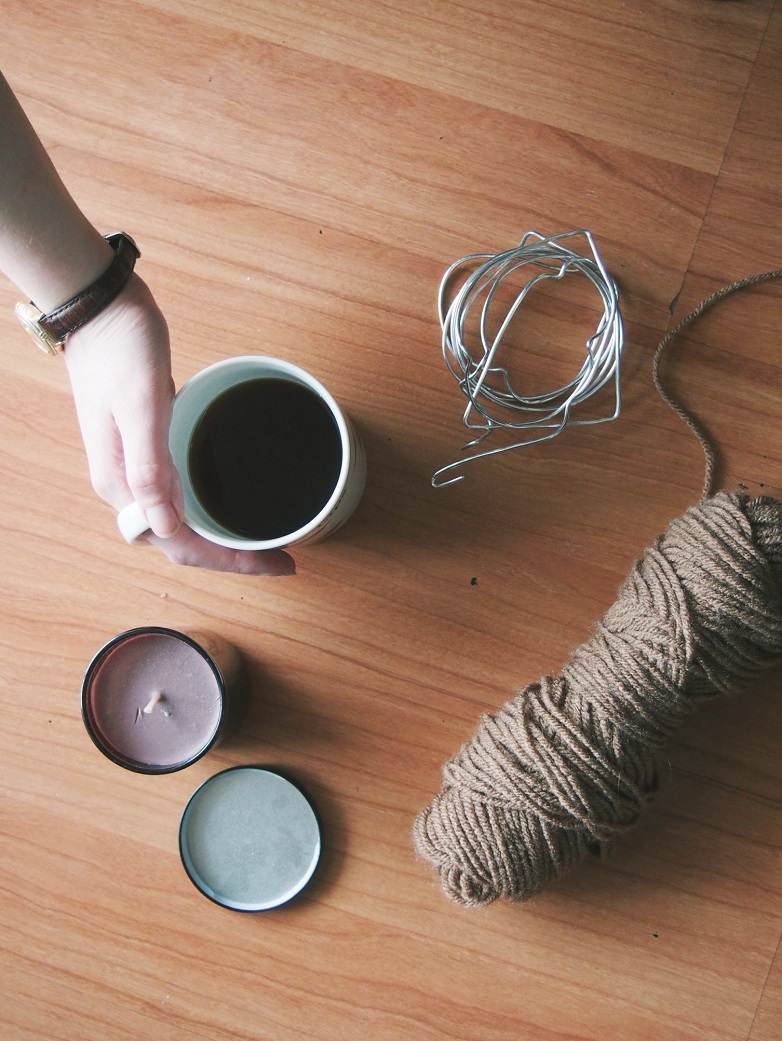
01. Yarn
02. 12-Gauge Wire
03. Wire Cutters
04. Scissors
05. Coffee or tea (always a necessity)

First, curve the wire into the shape that you want. I went with a circle, but I think a triangle would also be super cool, as would any number of shapes! Leave a bit of extra wire so you can wrap the ends together (don't worry--this will be covered with yarn in the end!). Then snip with the wire cutters.
Now decide how long you want your yarn fringe to be. I went with about a foot. Double your measurement and cut lots of strips of yarn to that size (so I cut 24-inch lengths).
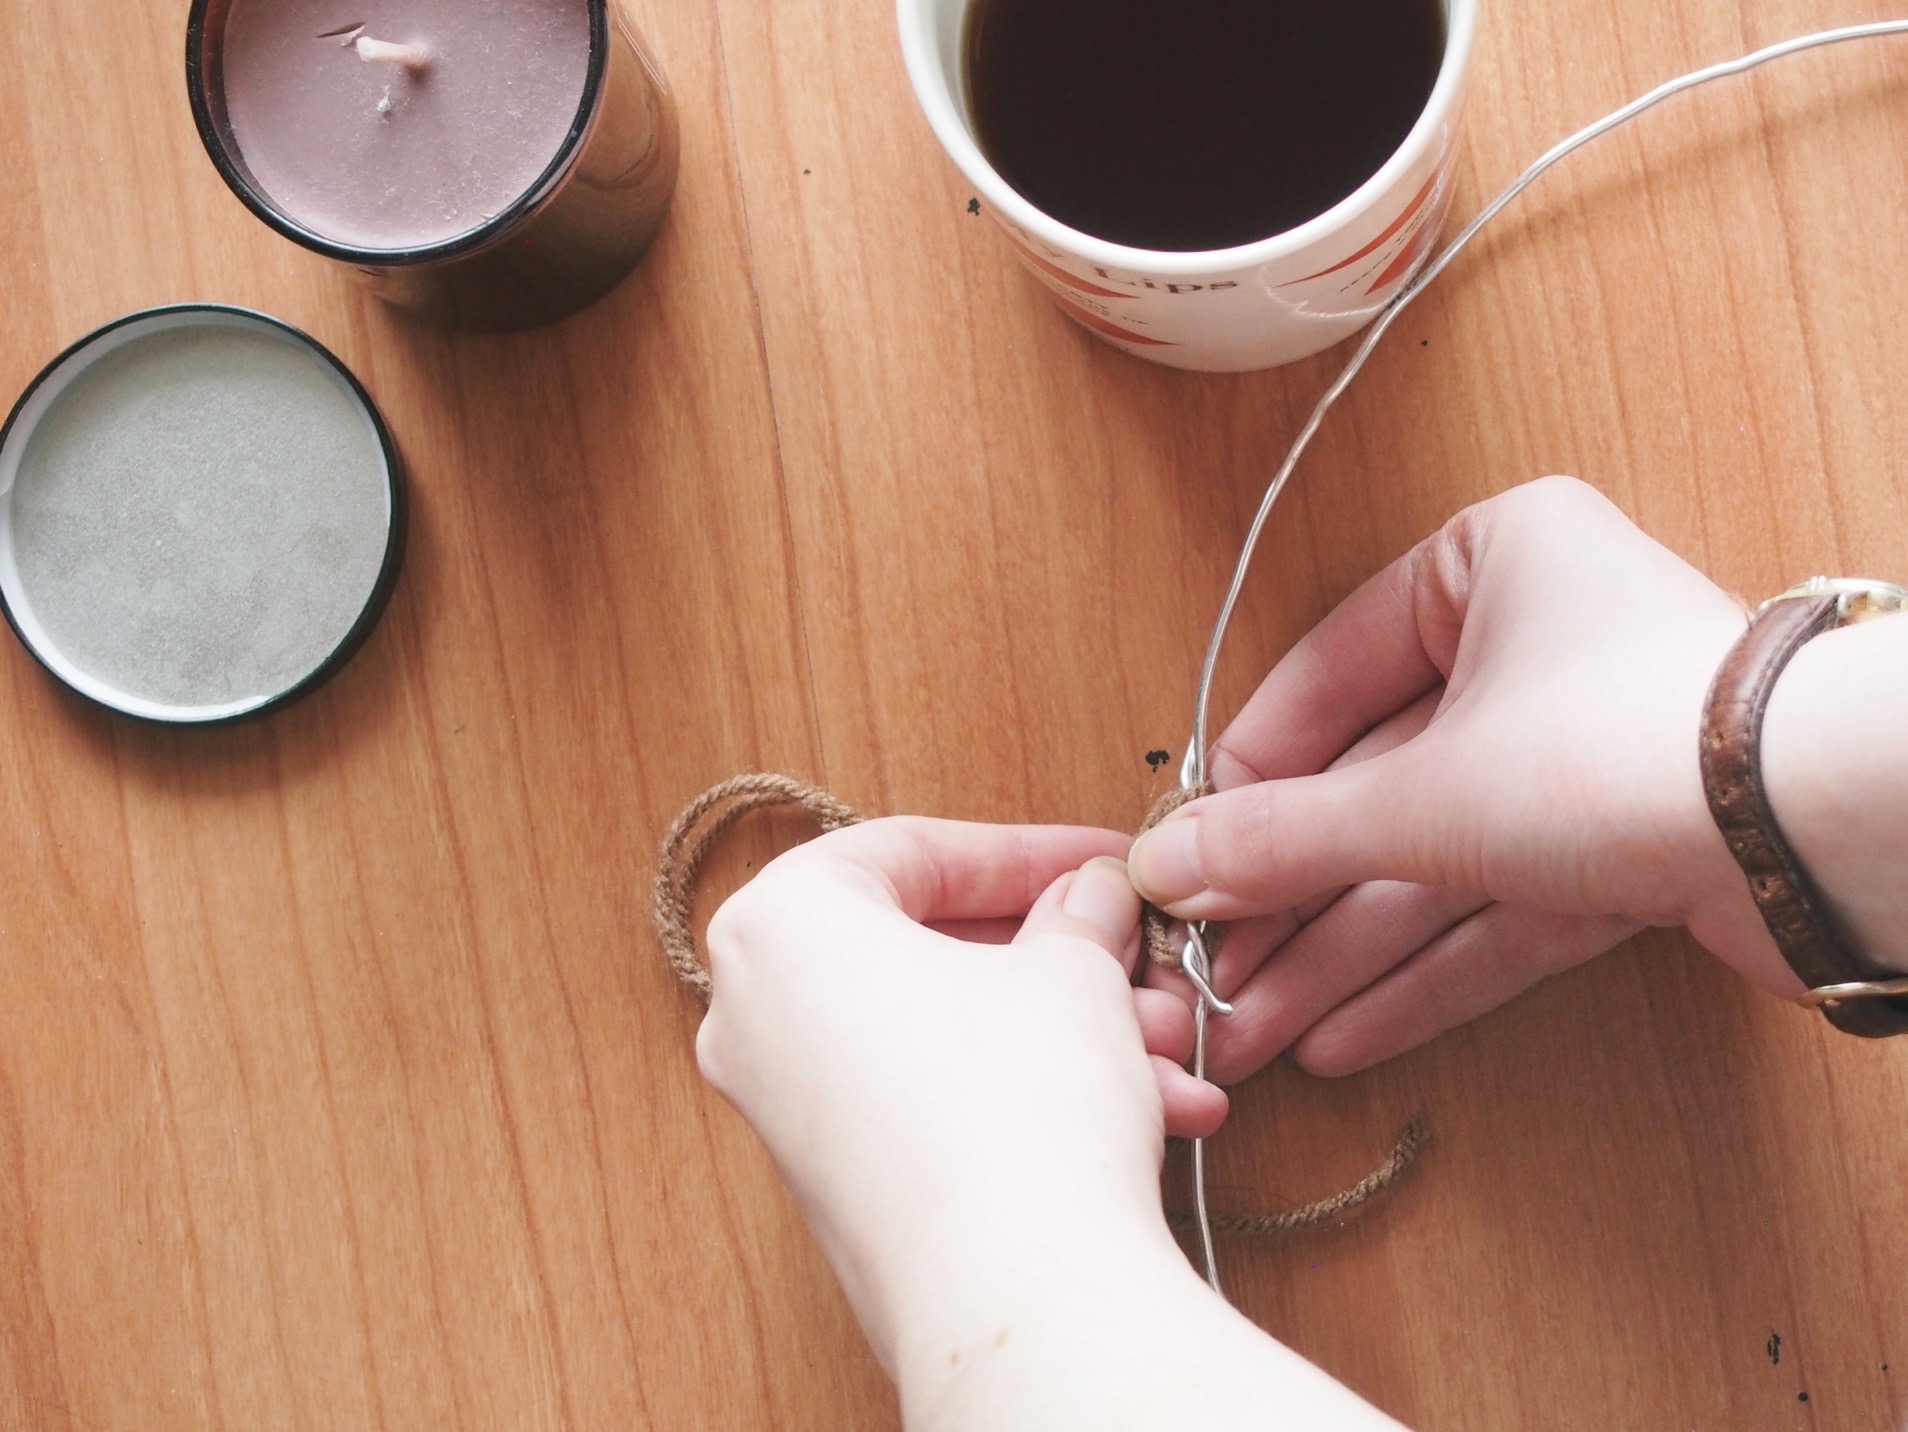
Fold the yarn in half to form a loop at the top. Place it under the wire, then pull the ends through the wire to secure the yarn to it. I chose to use one piece of yarn at a time, but you can use as many as you like to create varied thicknesses.
Repeat this until you have achieved the width that you want on your hanging.
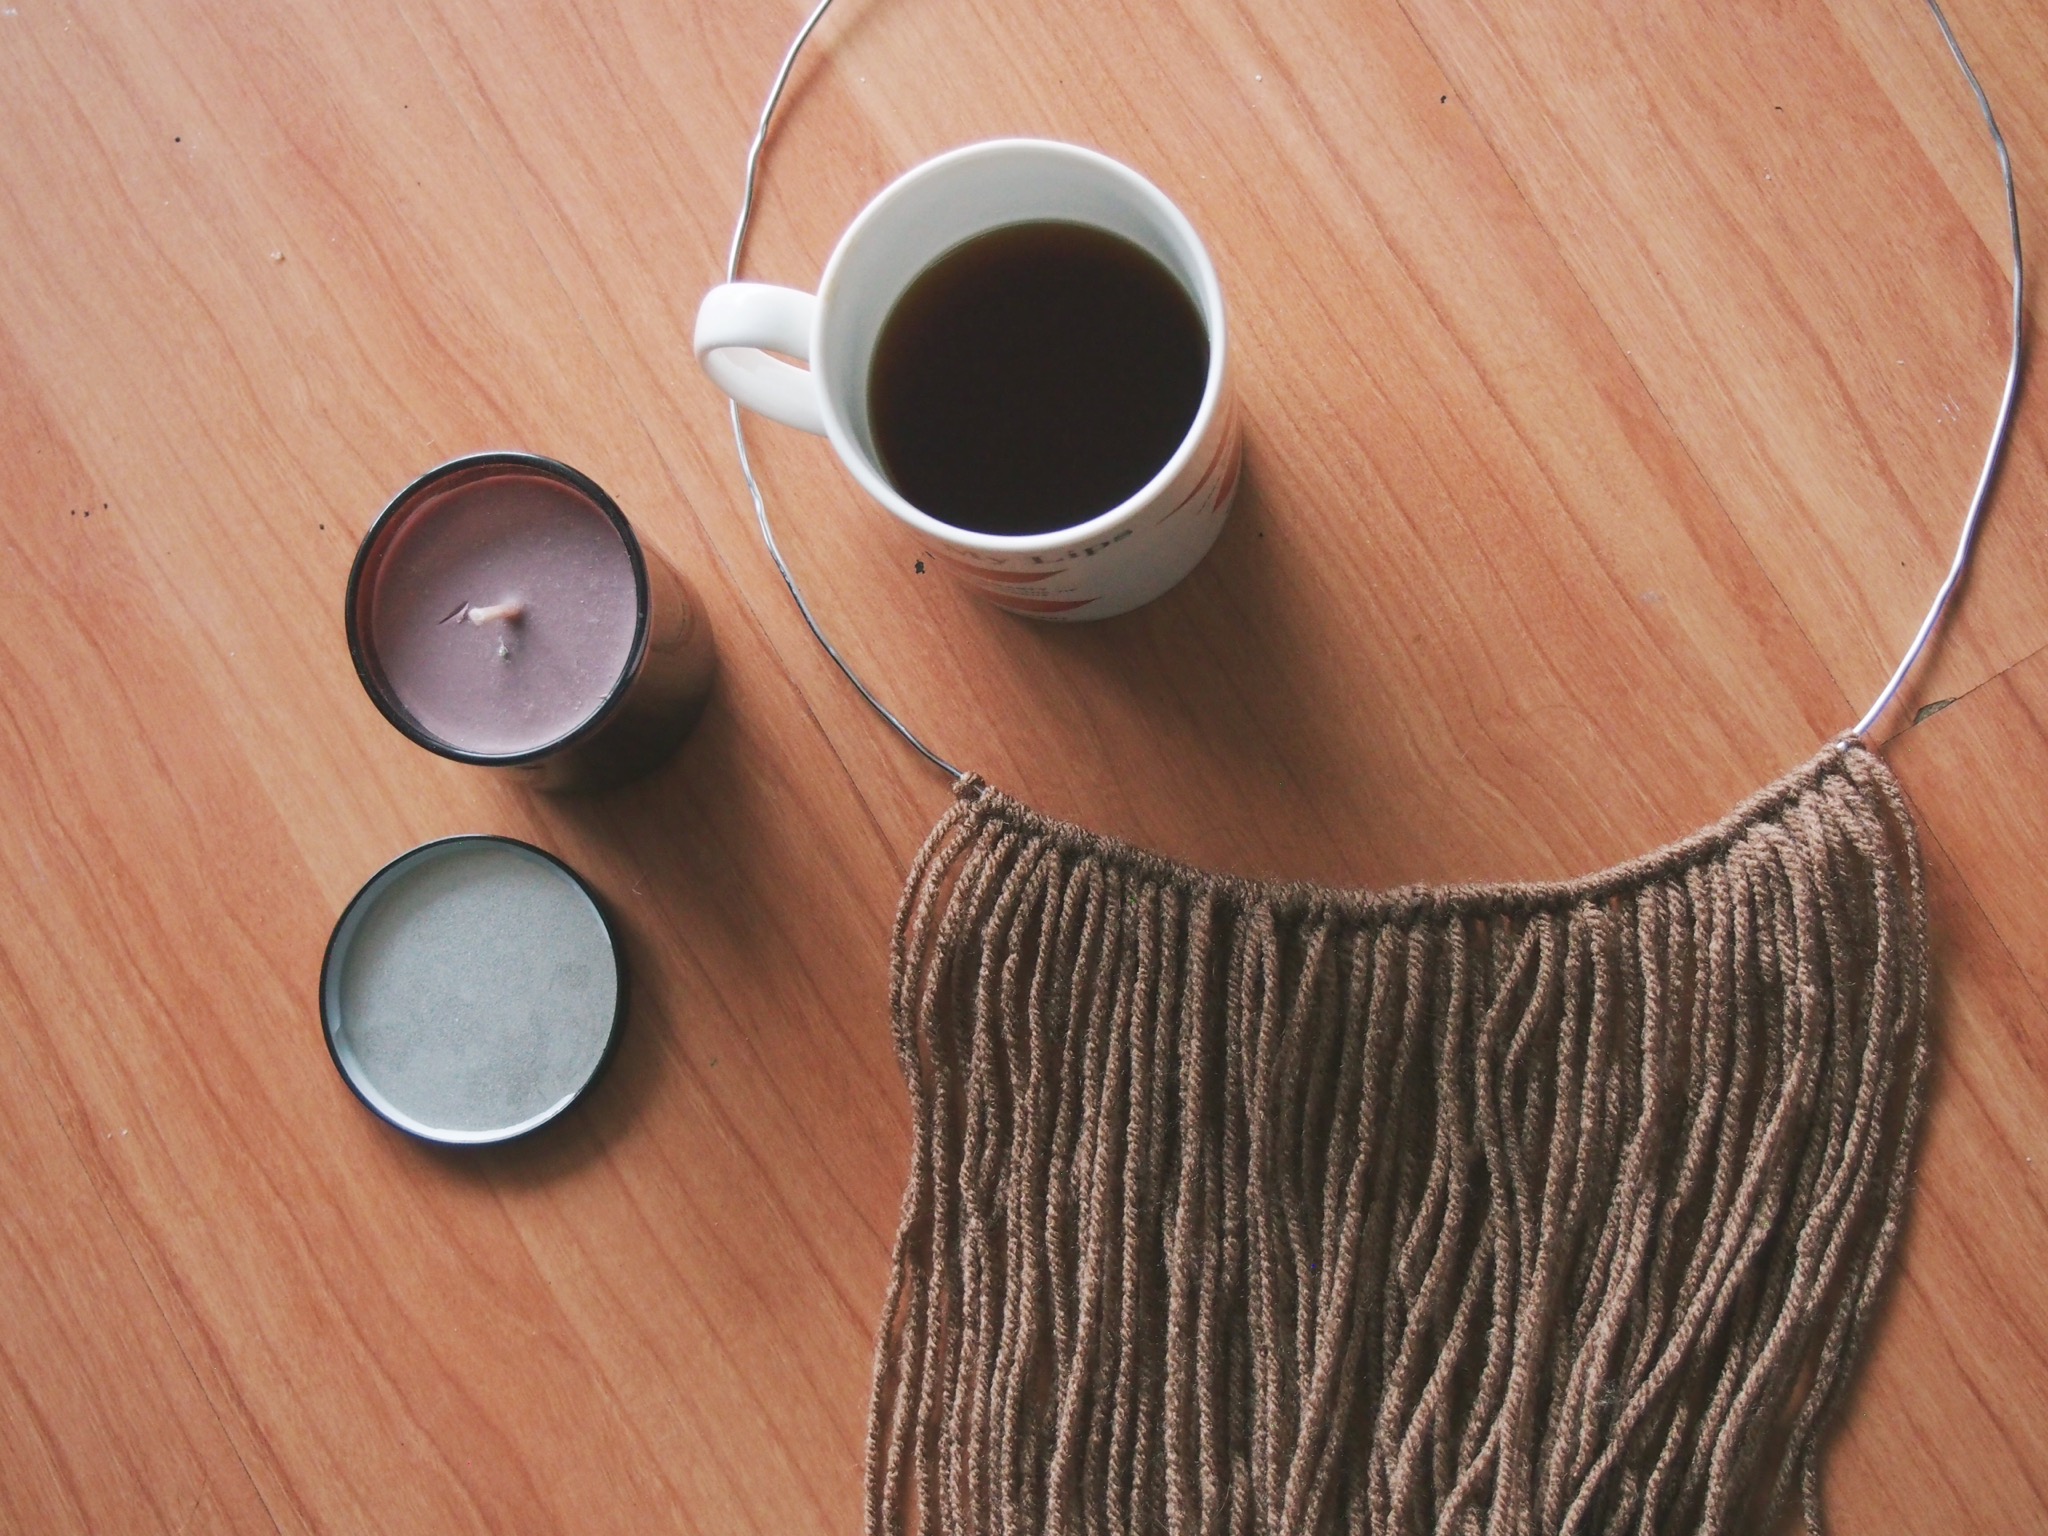
To finish, you can give your hanging a haircut to make sure all the ends are even. I chose to cut mine in a triangle shape at the bottom to add some extra interest.
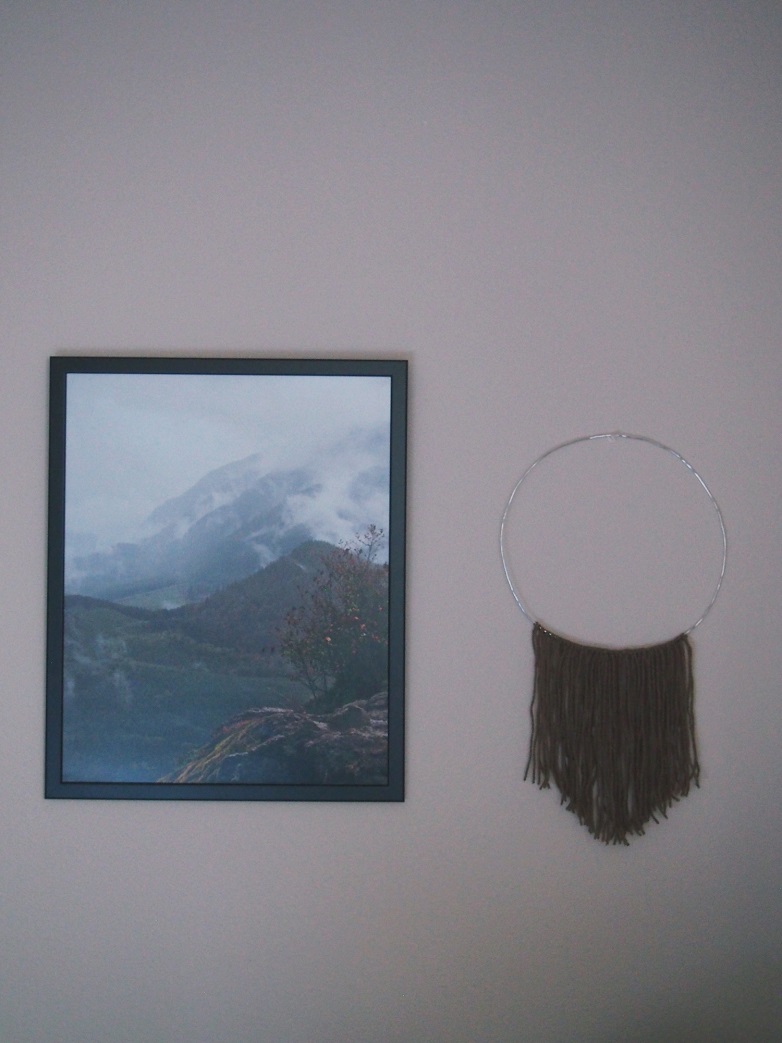
And there you go! Let me know if you make one of your own, and maybe send me a picture? I'd love to see it!
No comments:
Post a Comment